
In How-To Combine Crystals I share about combining stones/crystals and in How-To Combine Crystal Properties I get into determining combined meanings. In short, Crystal Grids are simply doing this on a larger scale so the elements are working over an extended period of time whether you’re in contact with them in the moment or not.
Gearing Up
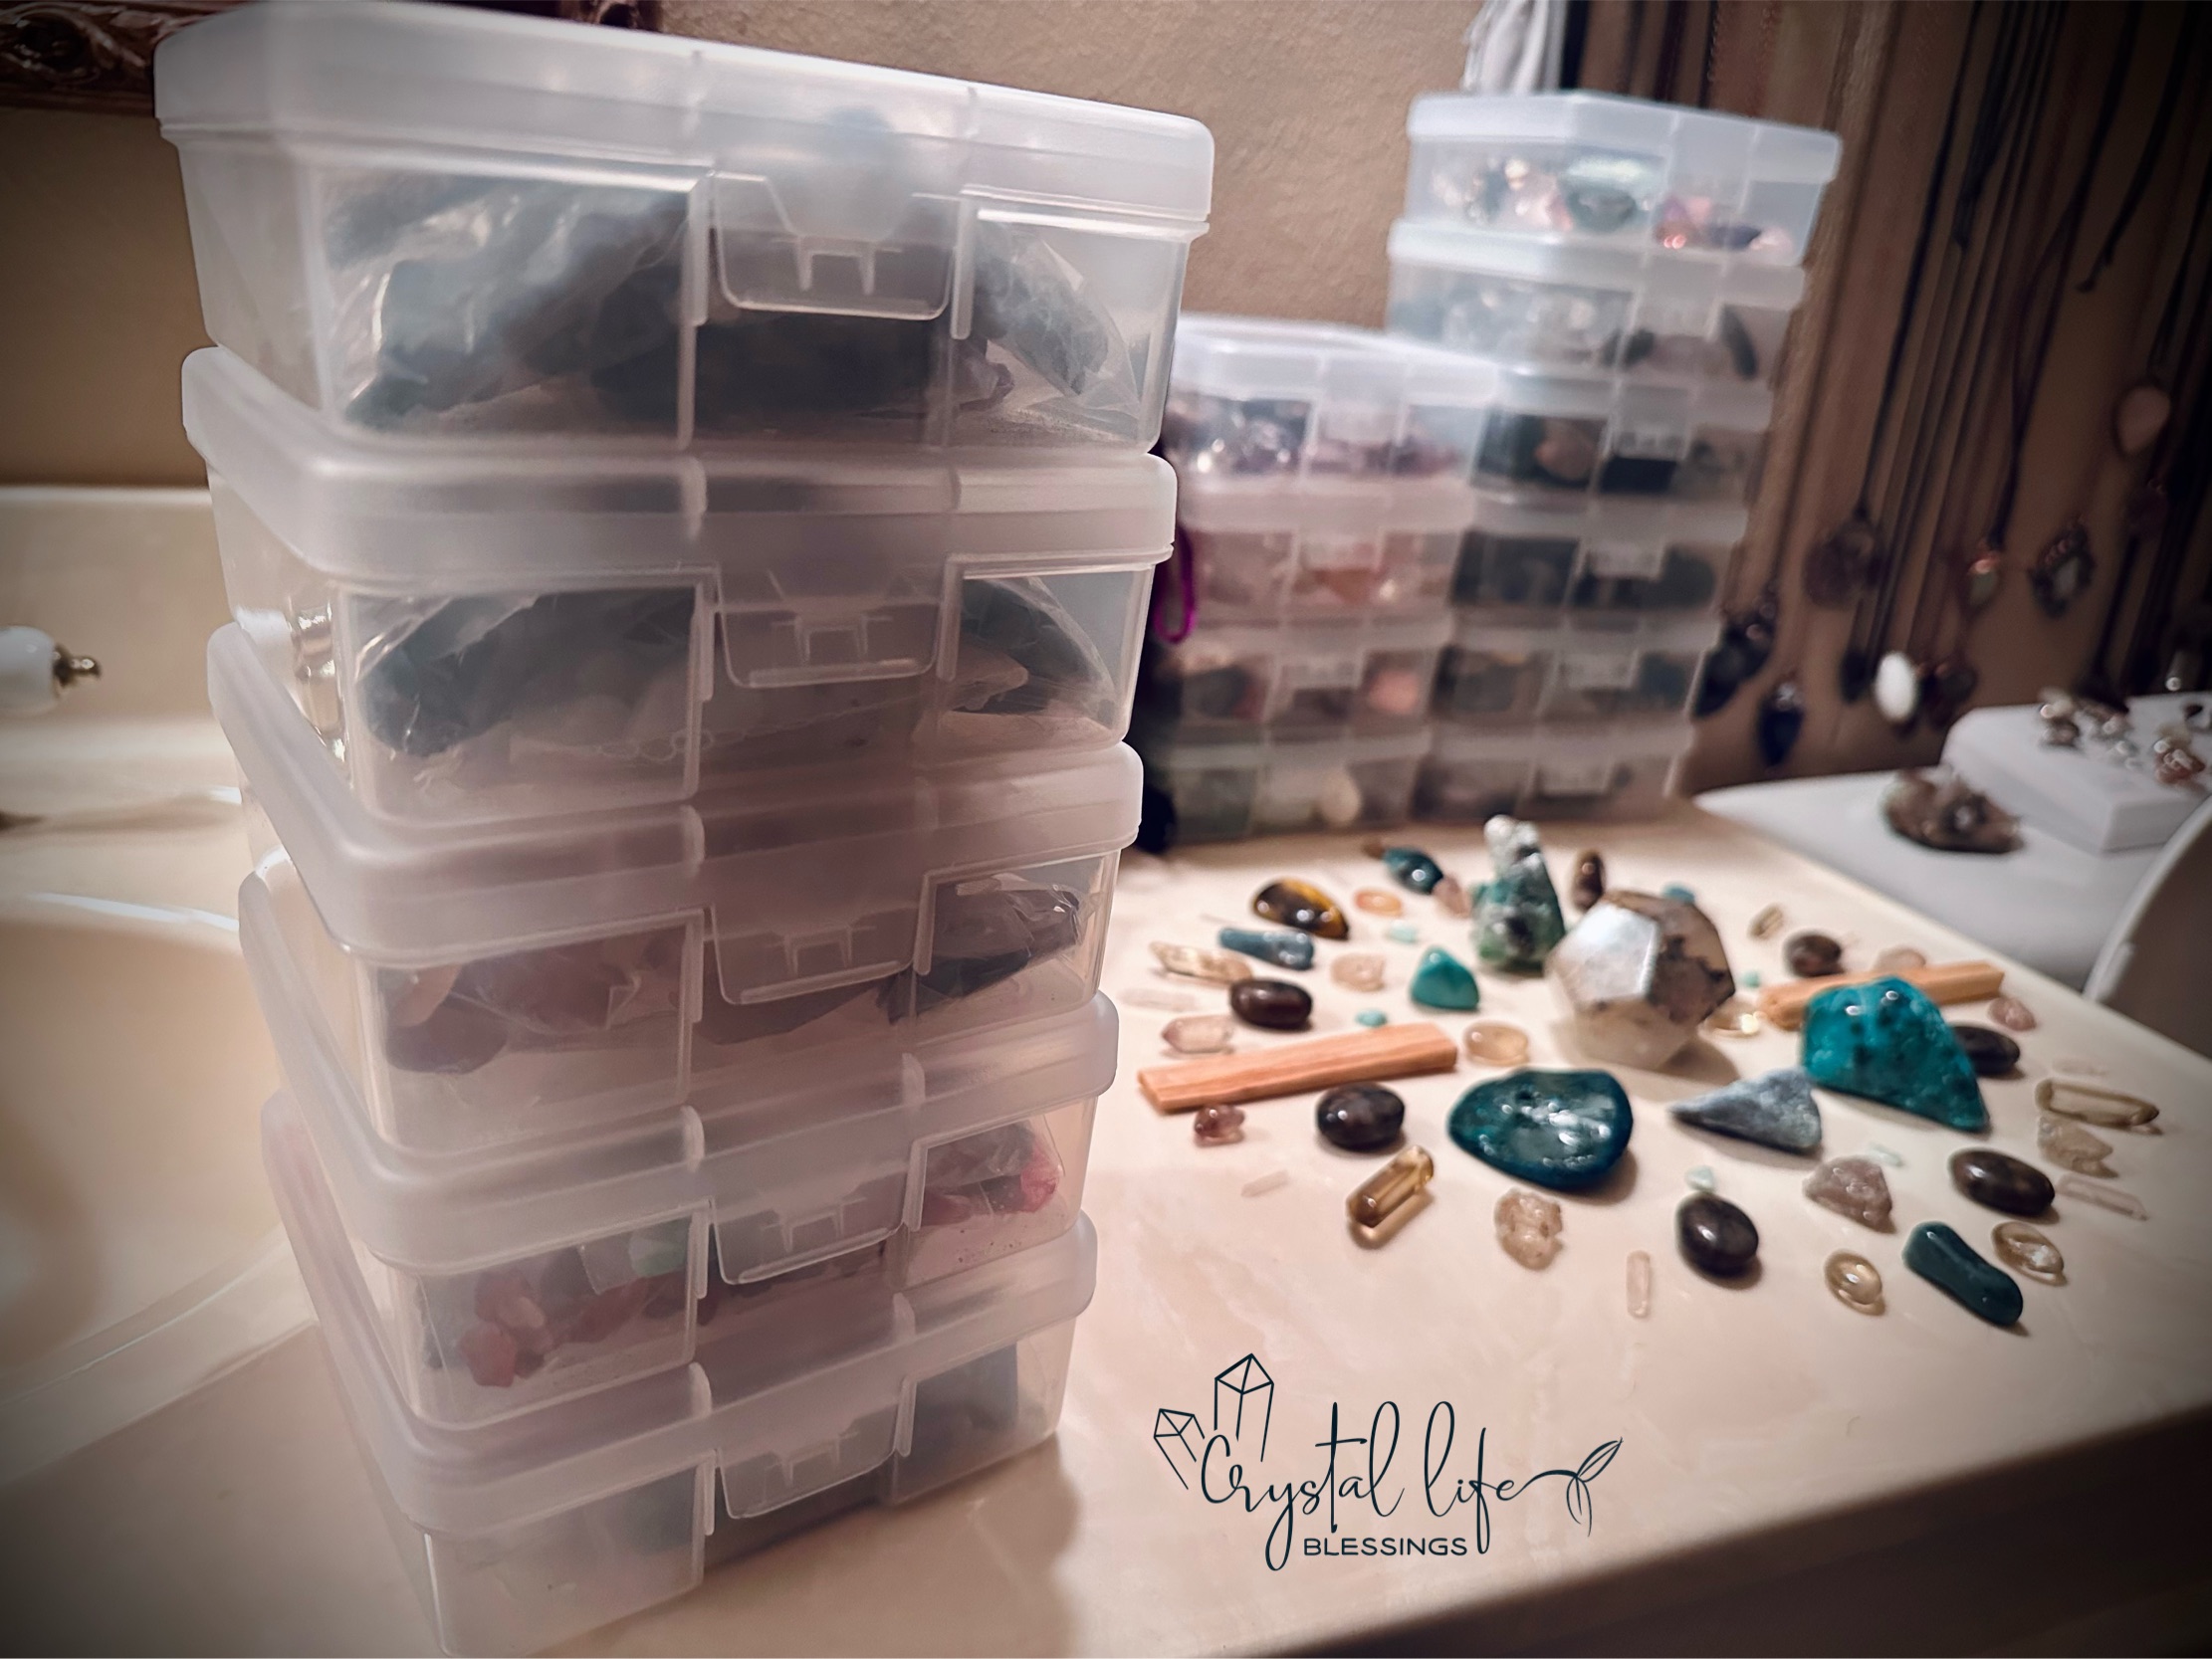
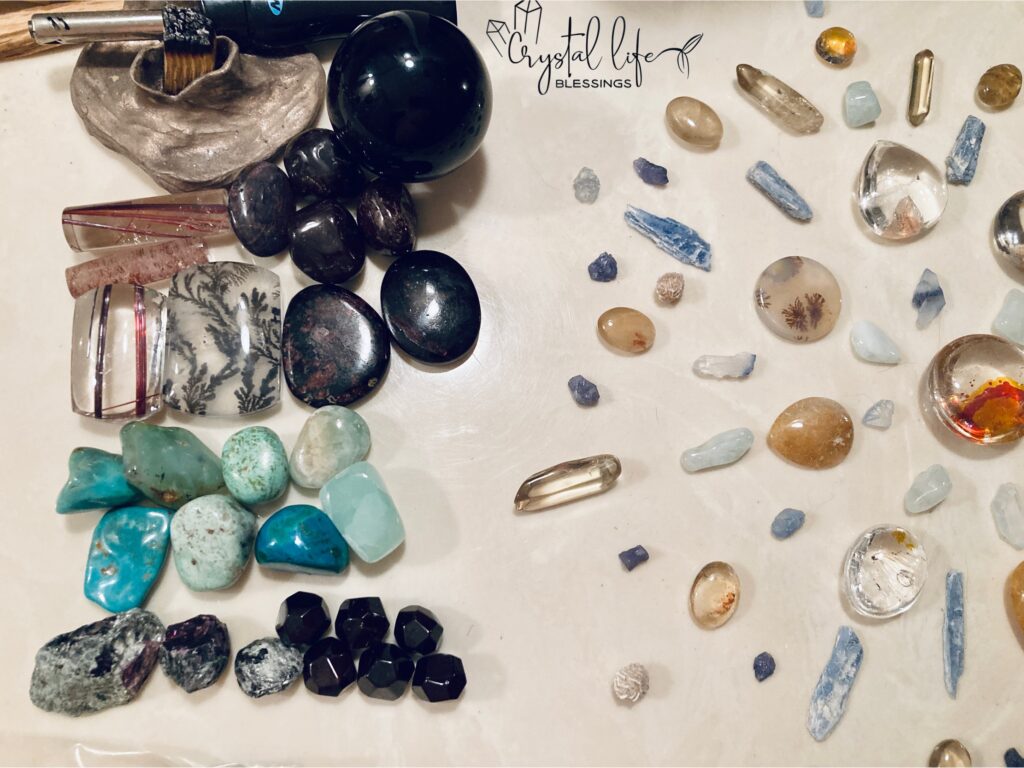
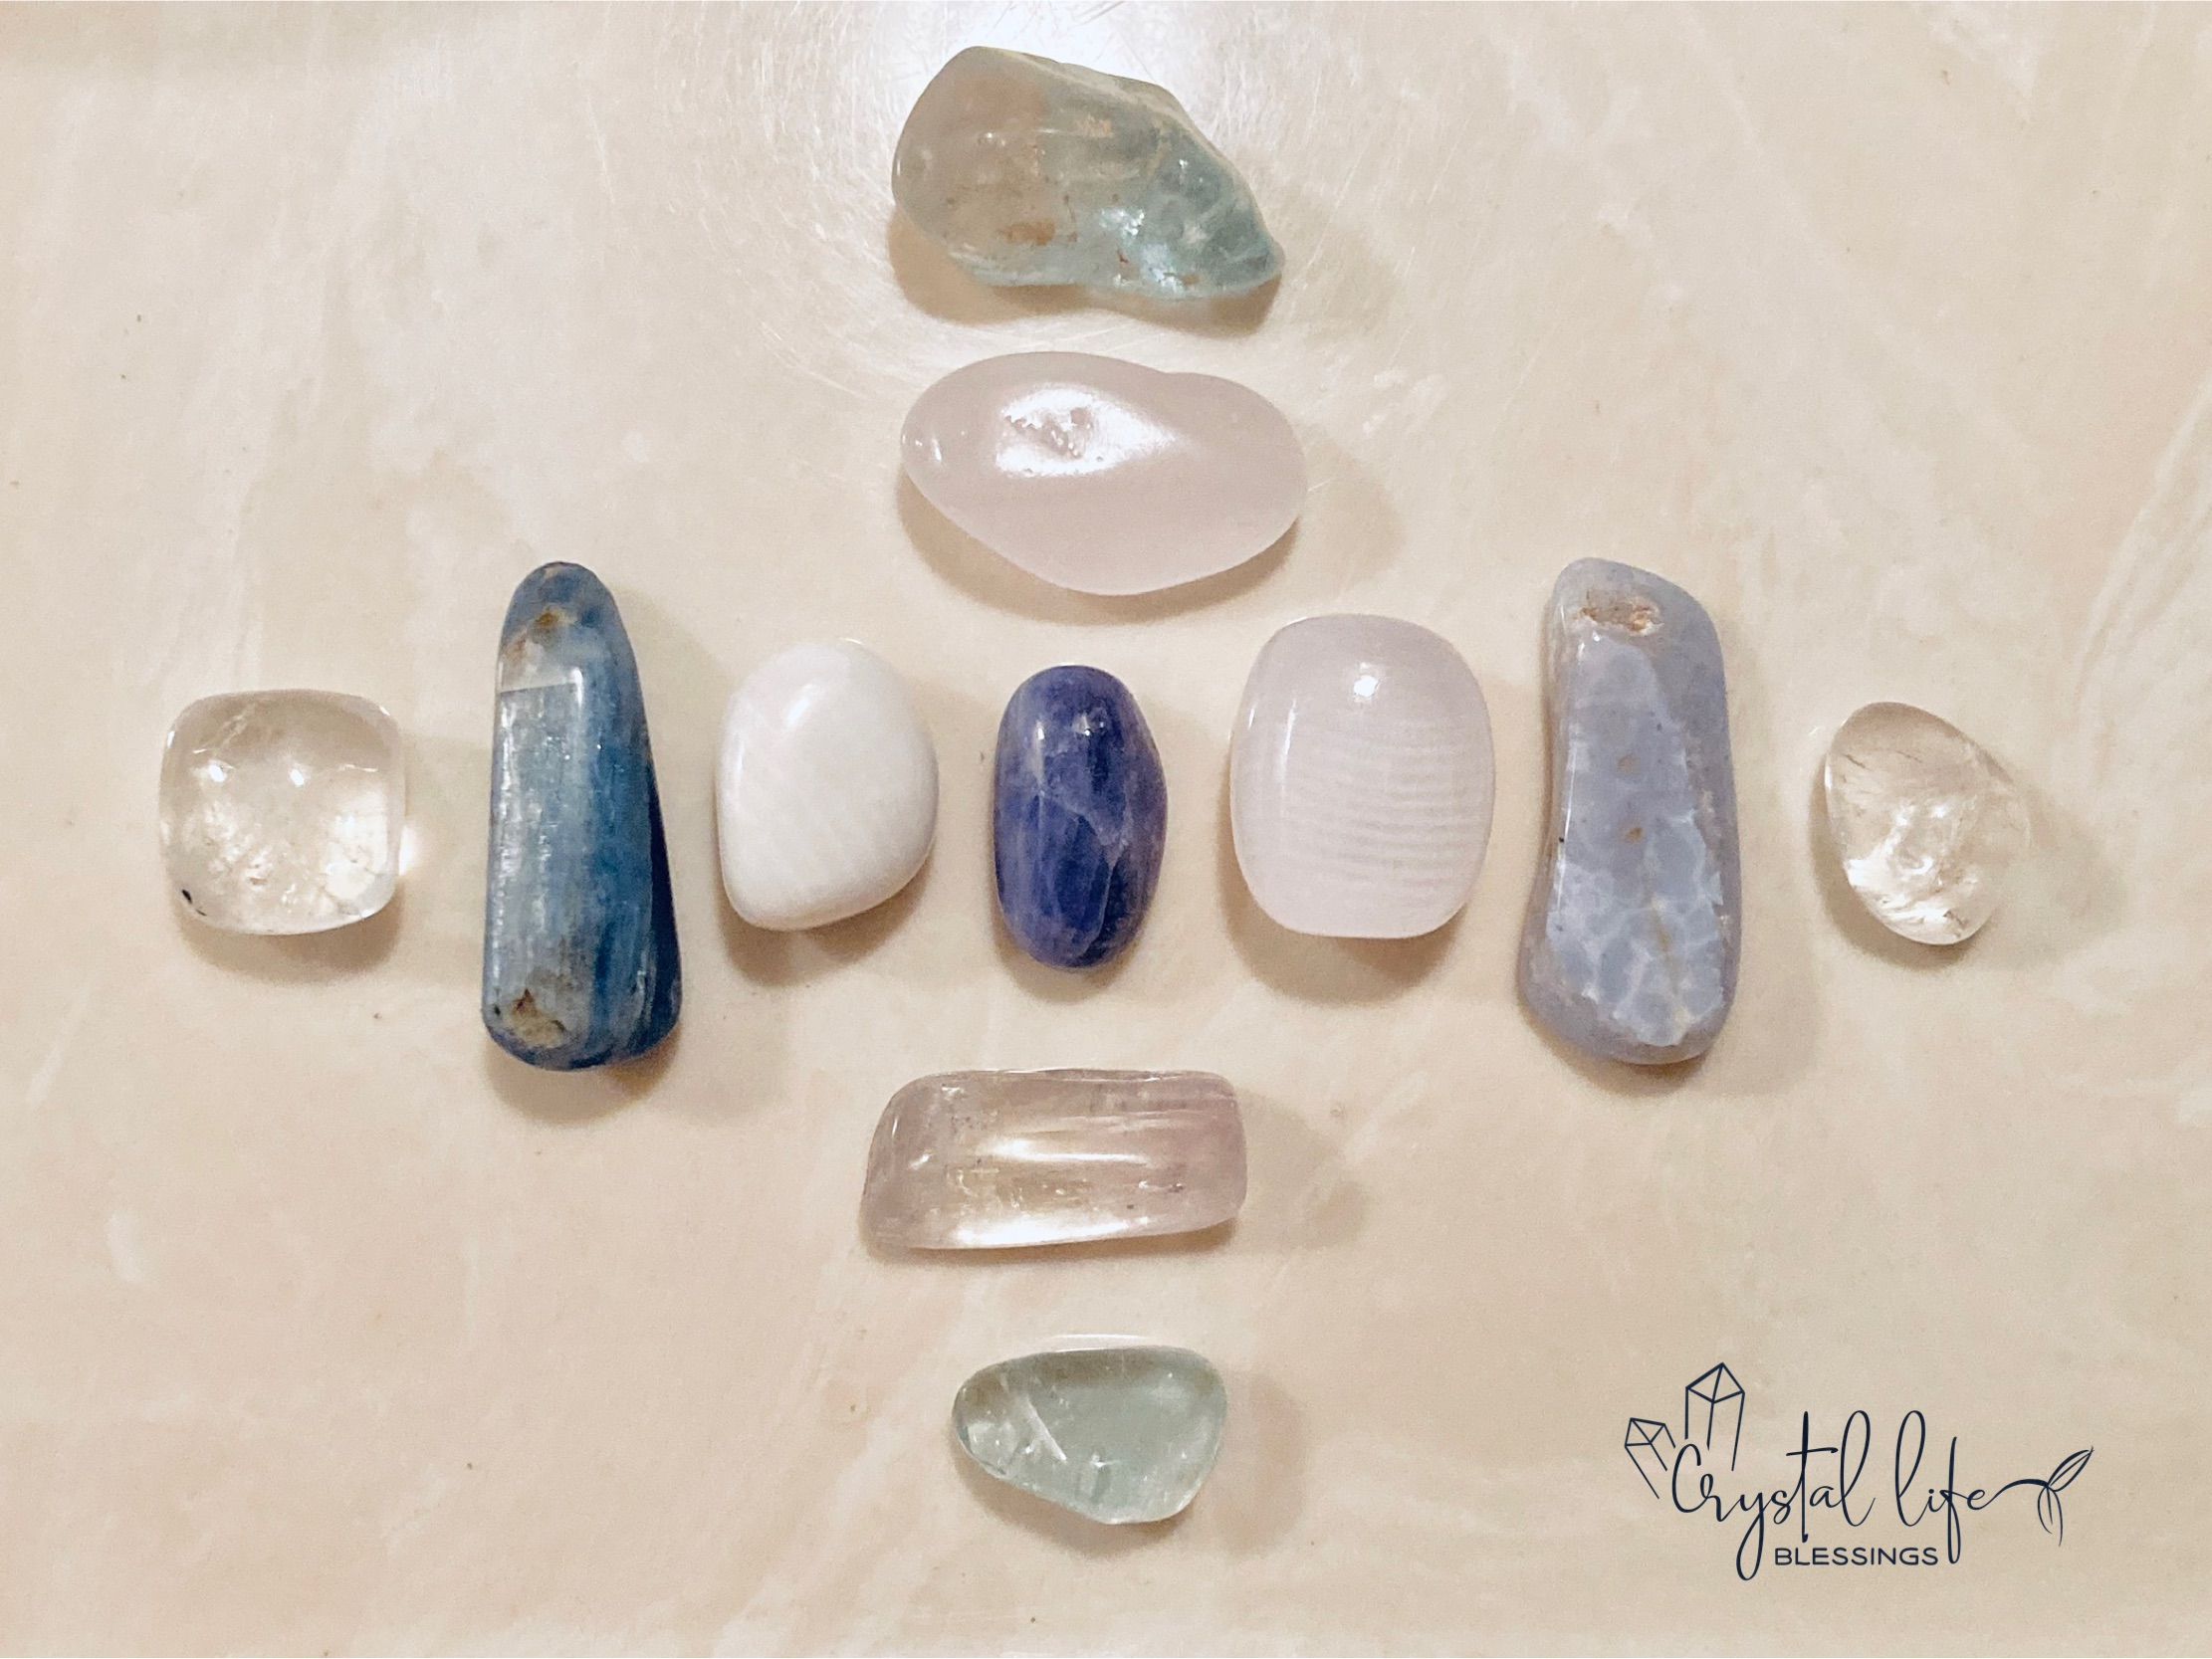
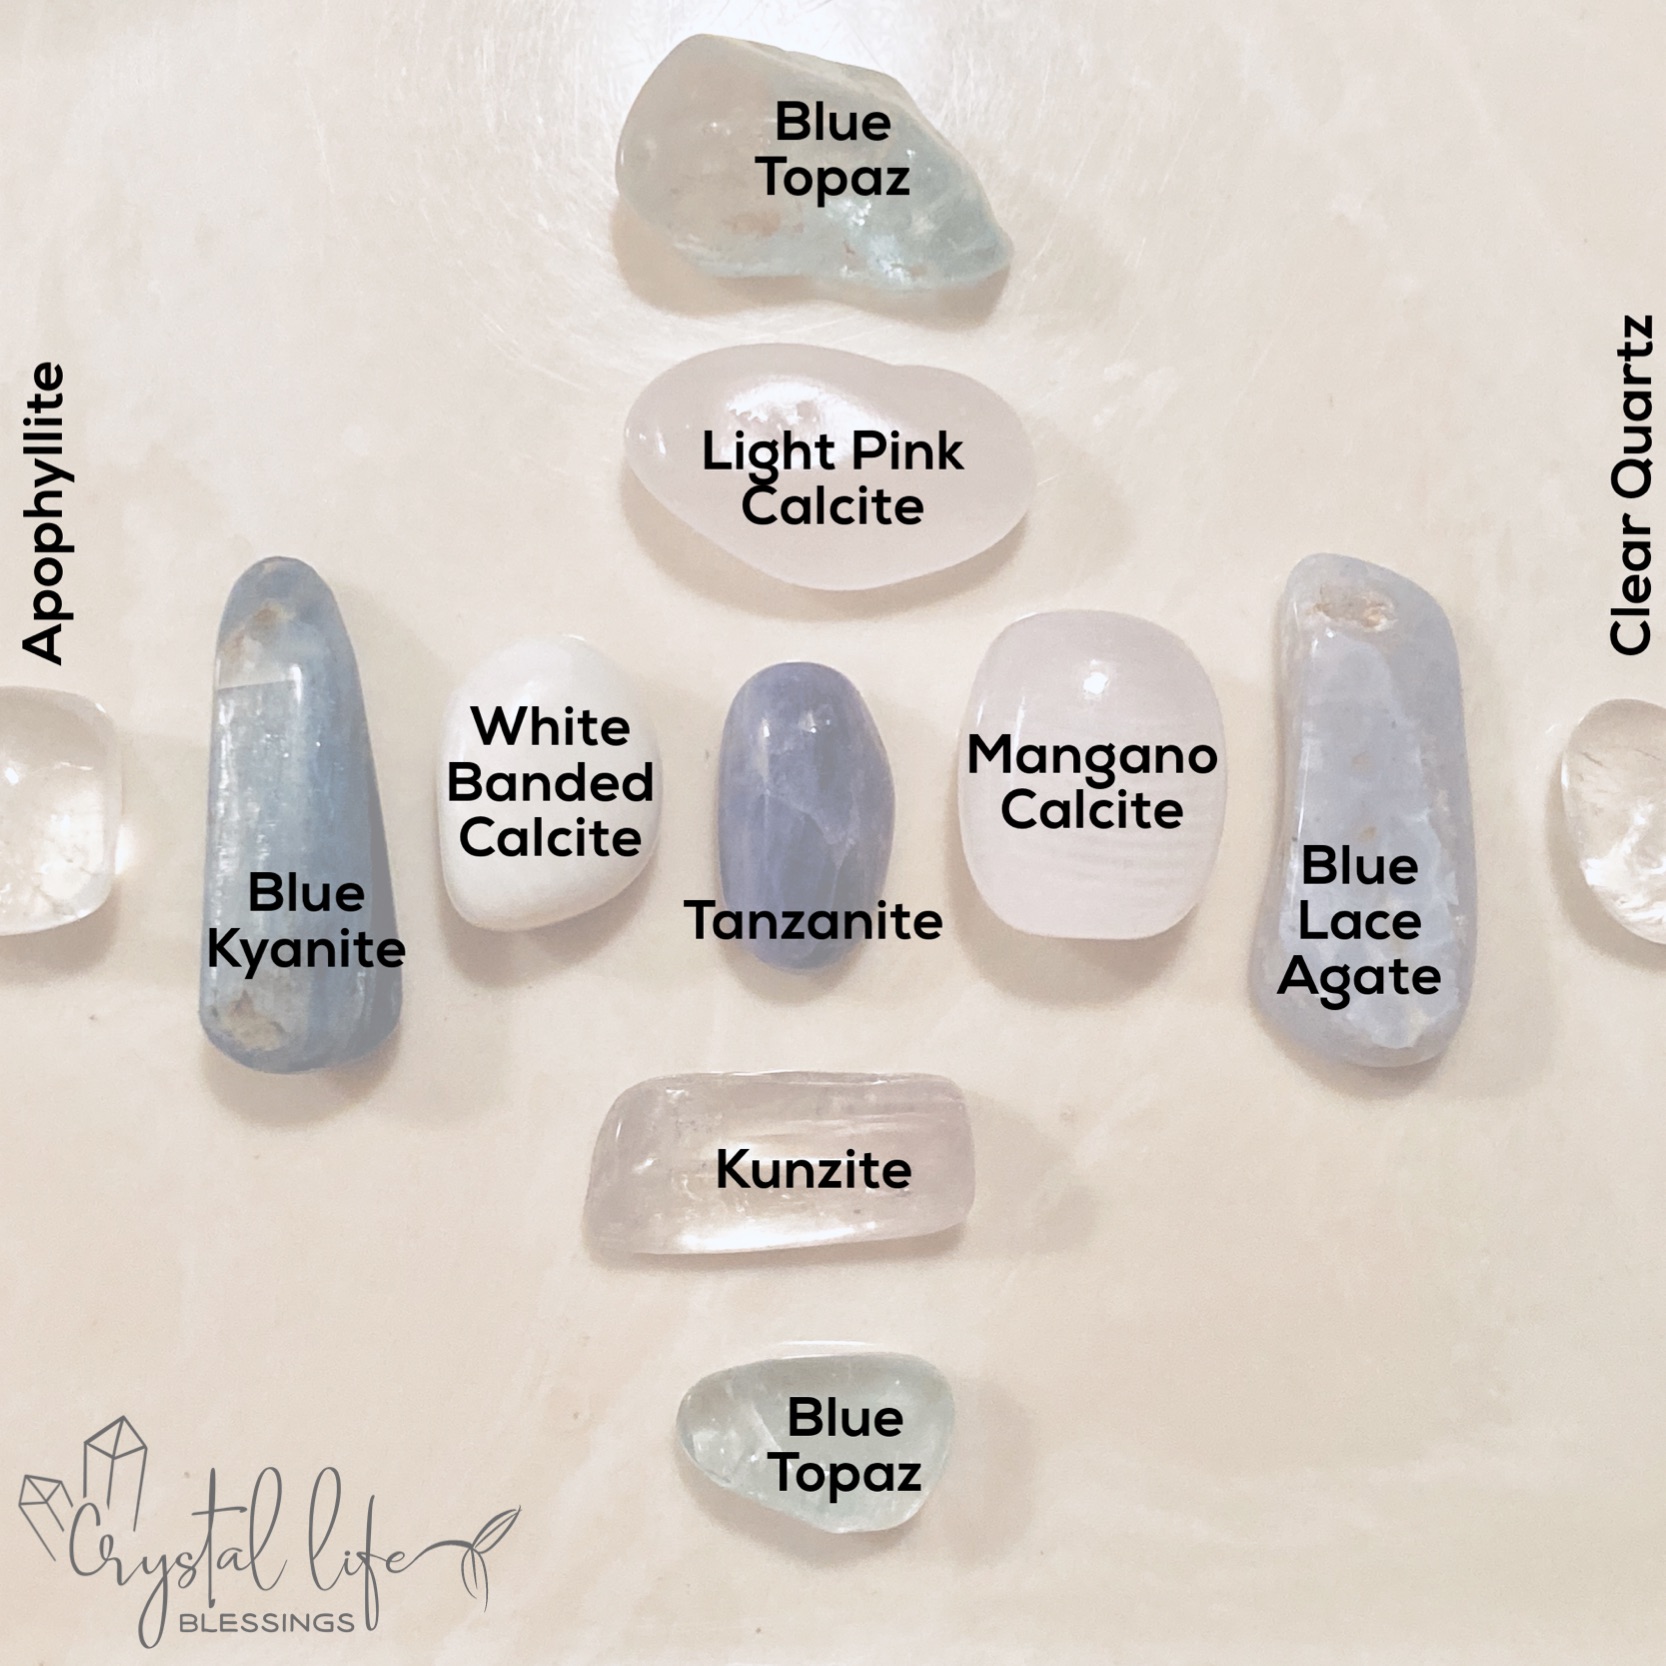
Having sets of coordinated elements makes gridding easy. Many shops sell sets (often with gridding in mind), which create easy ways to group things. I have everything from pairs on up to the small points and tumbles which I’ll cluster groups of 12 or more. I also am intentional to amass a variety of shapes, sizes, and colors because I love the visual interest that creates as well as simply having lots to choose from.
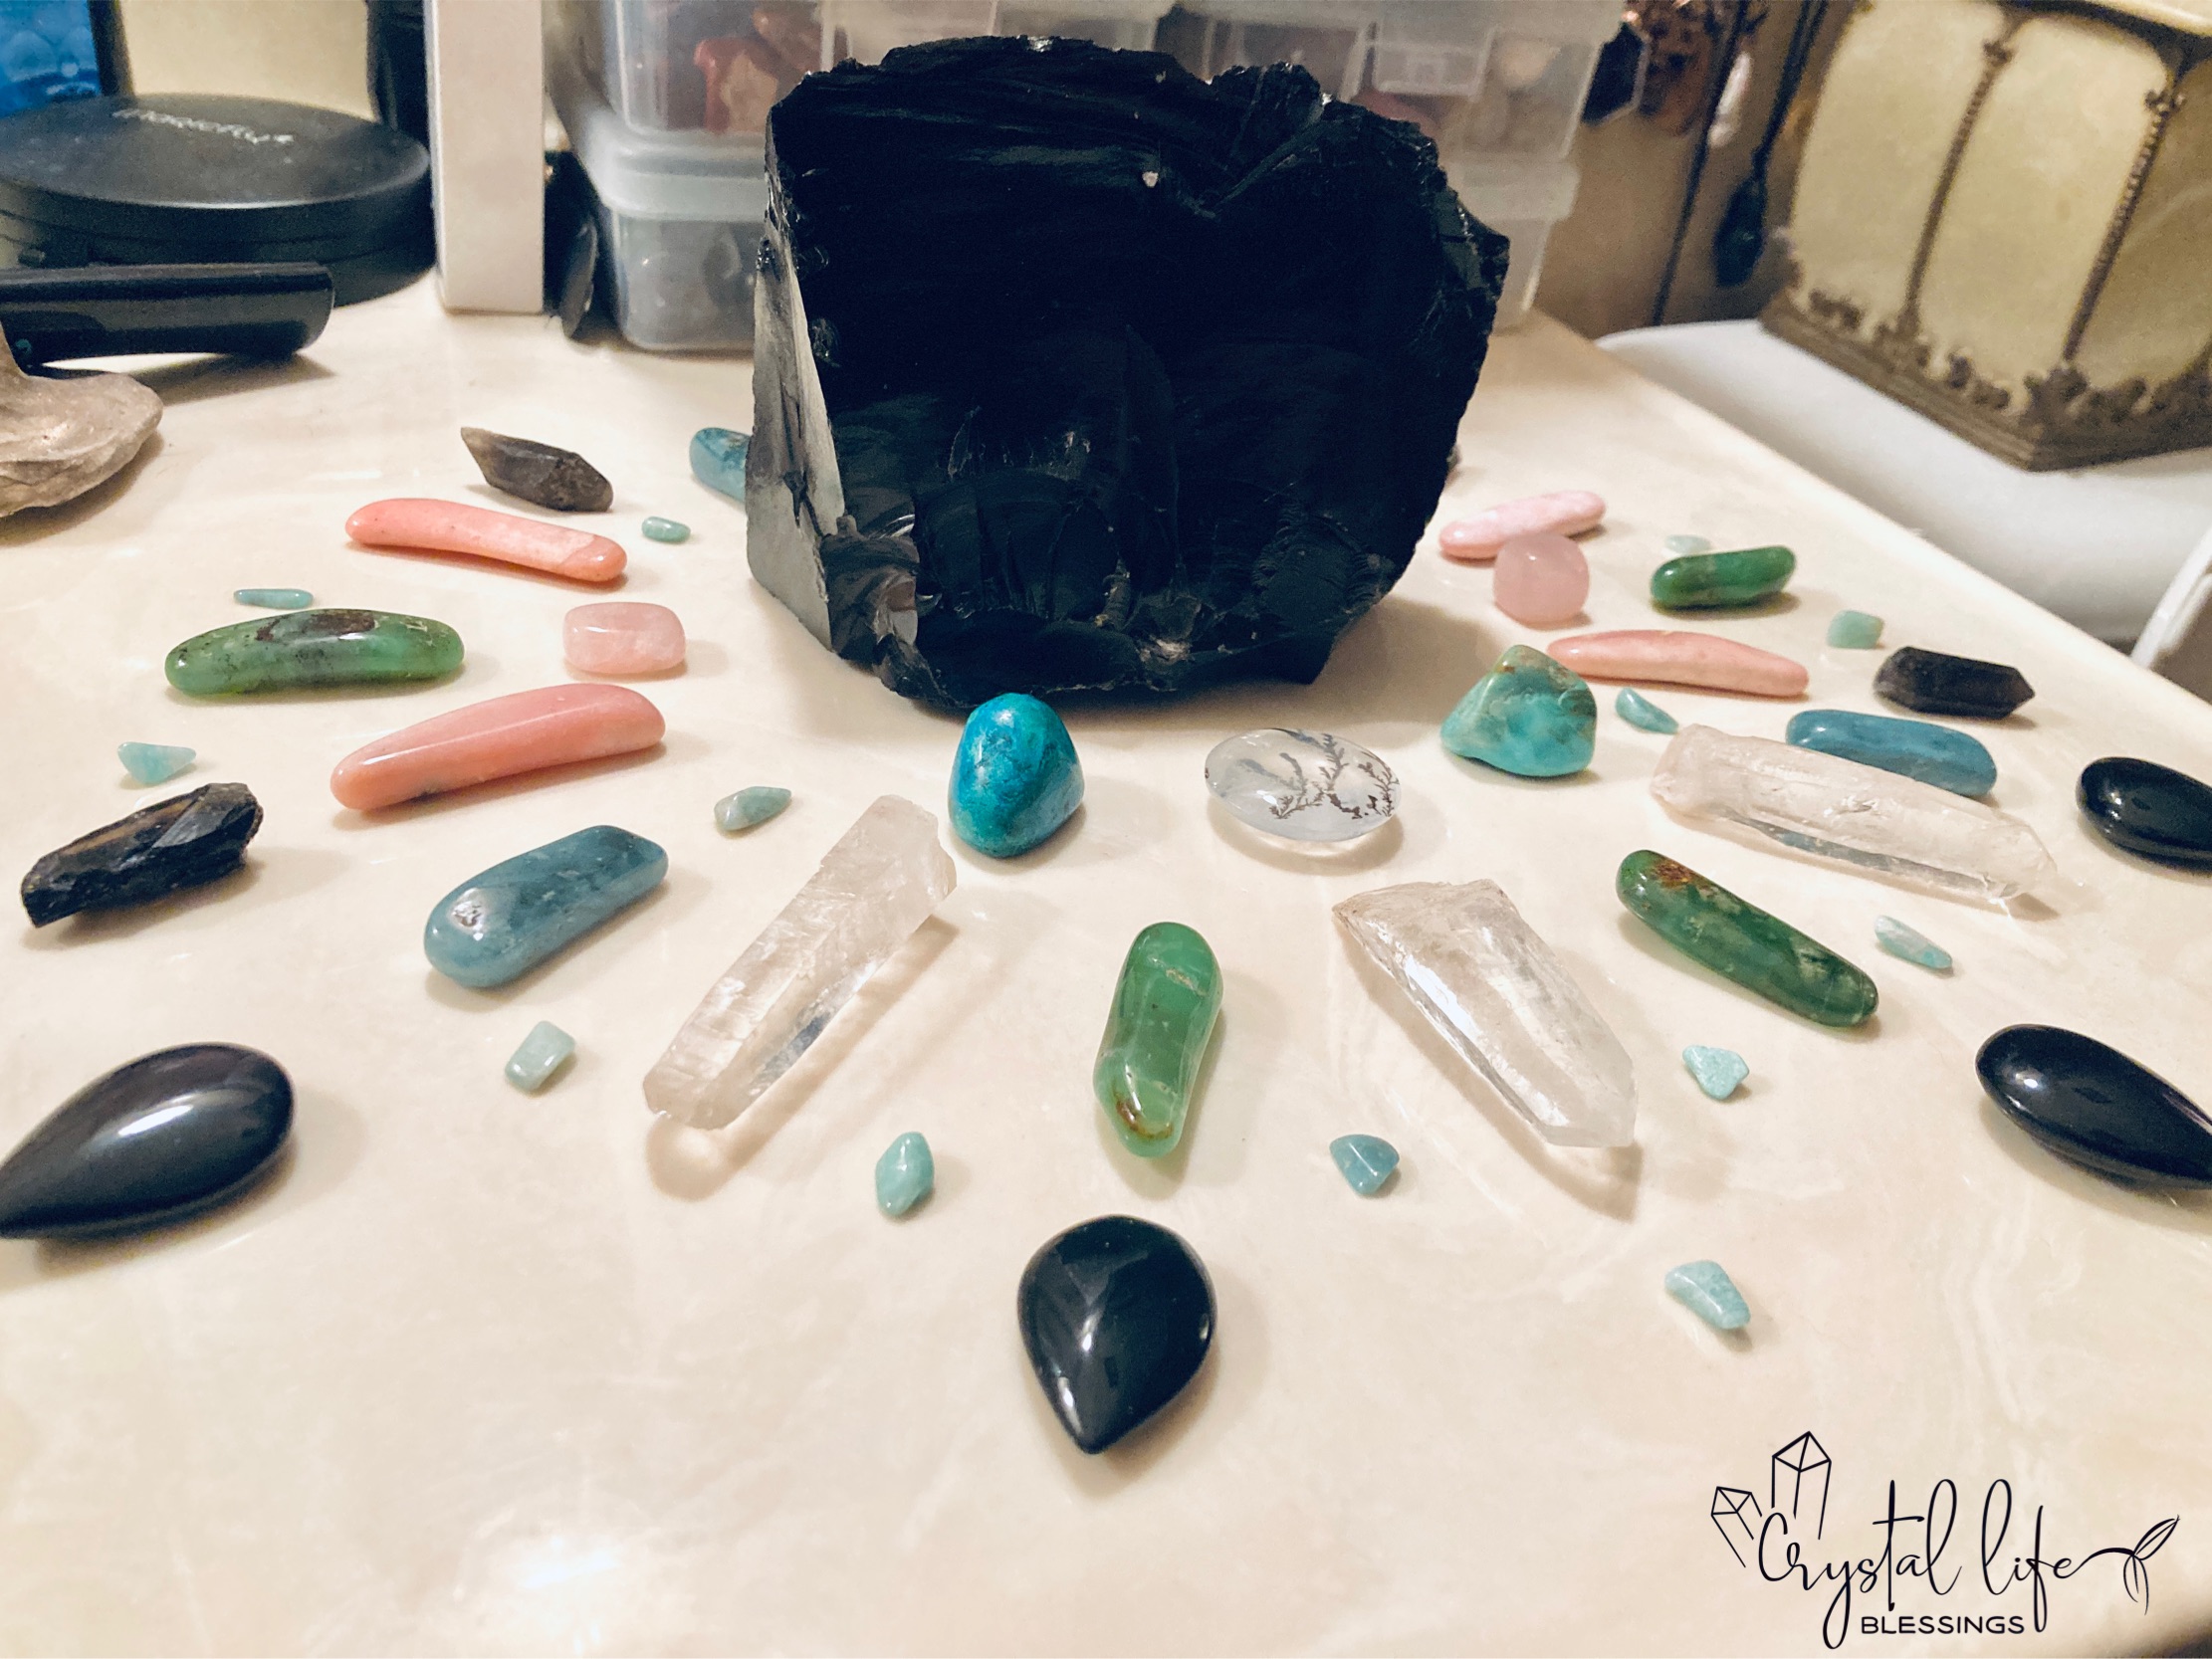
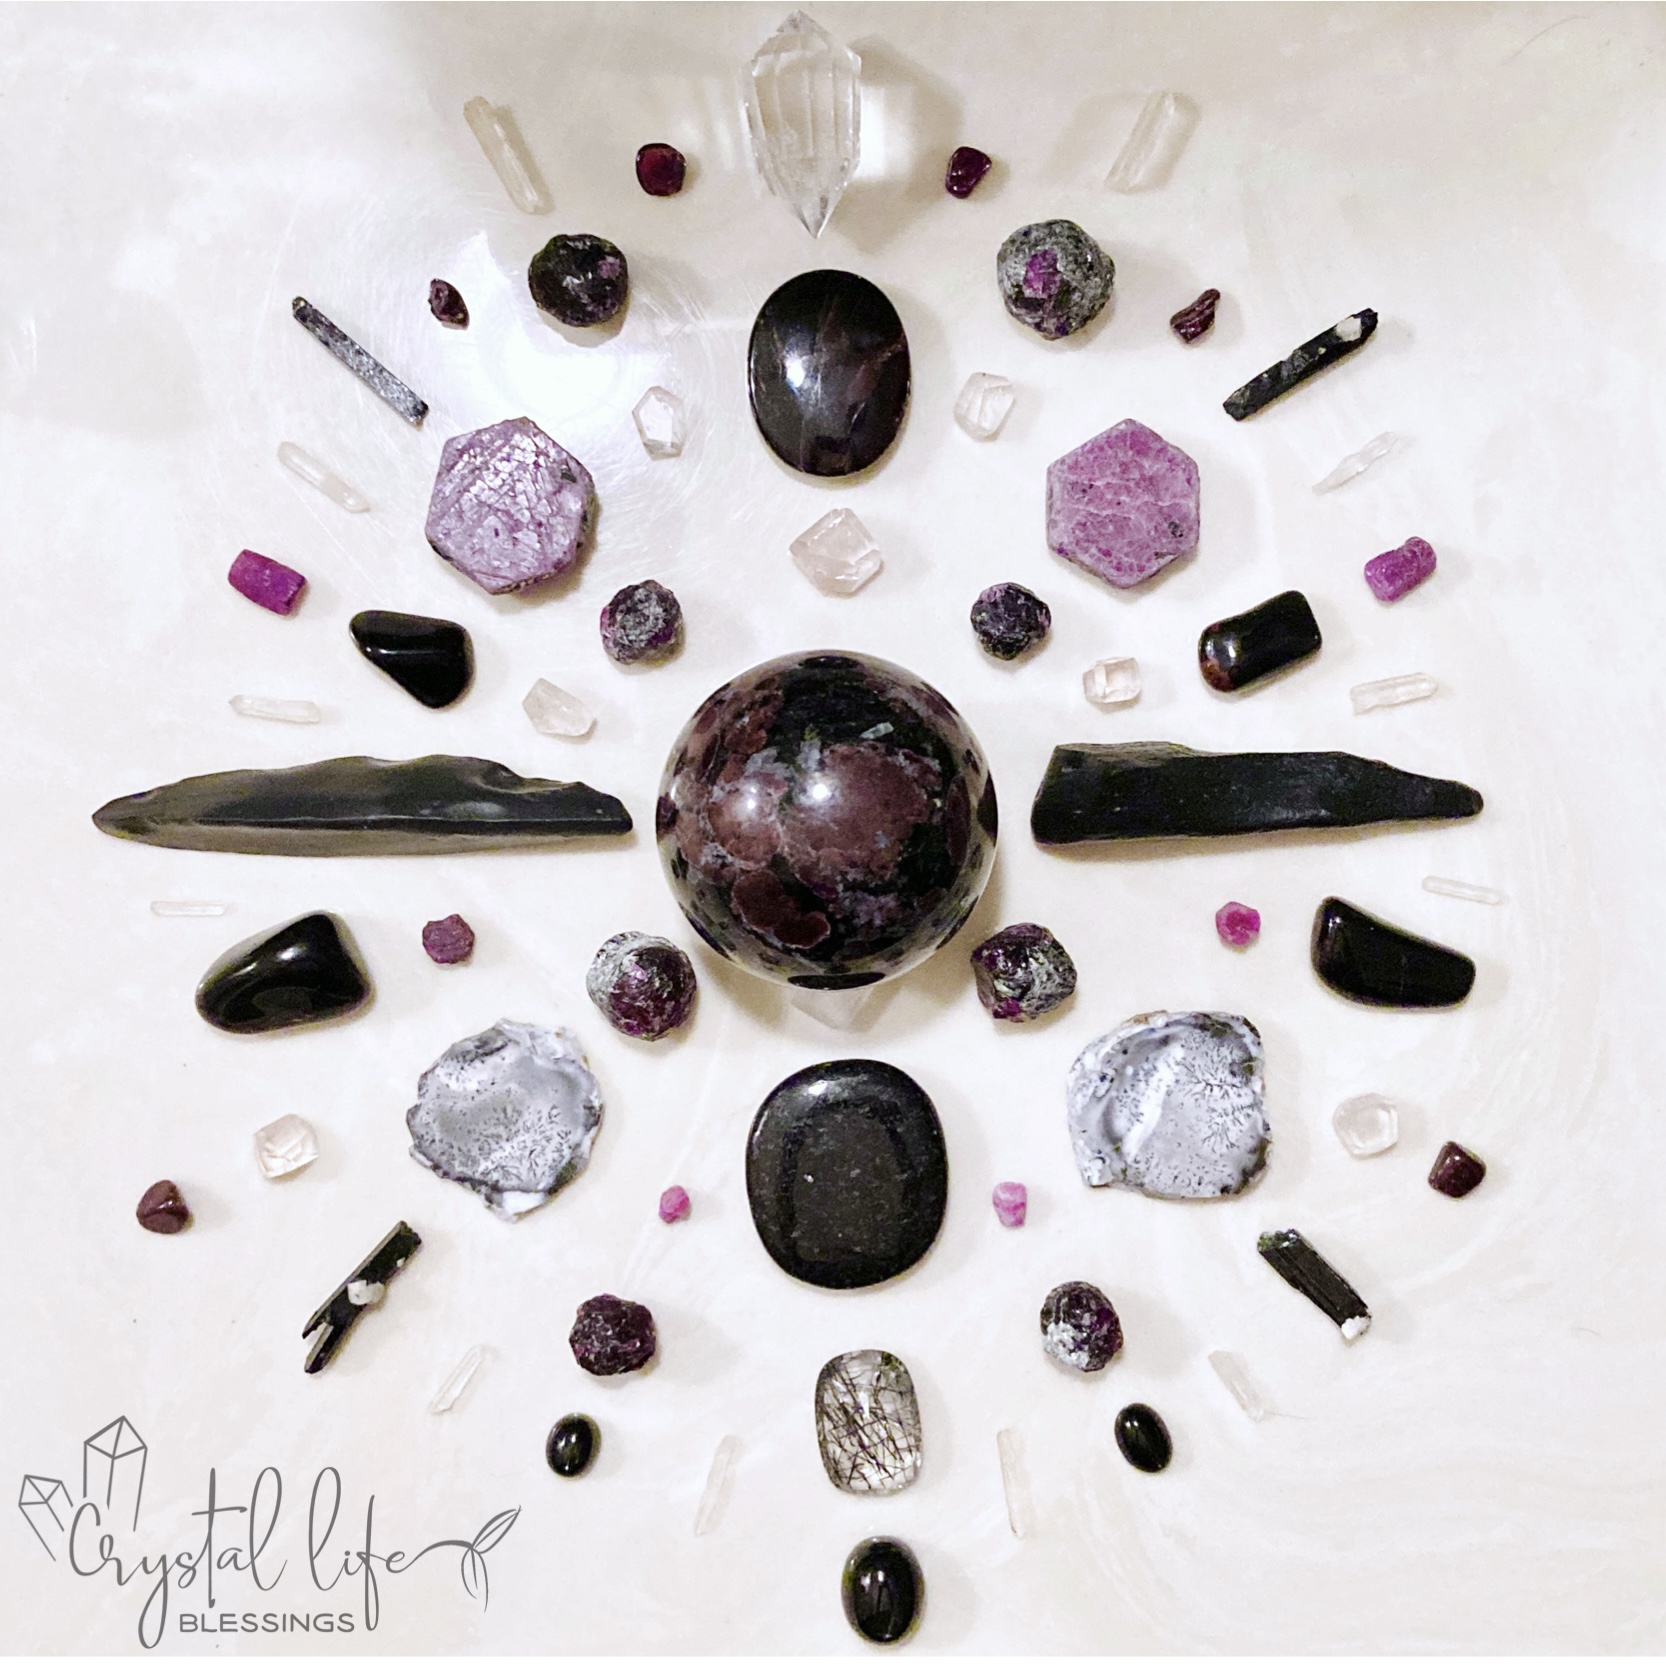
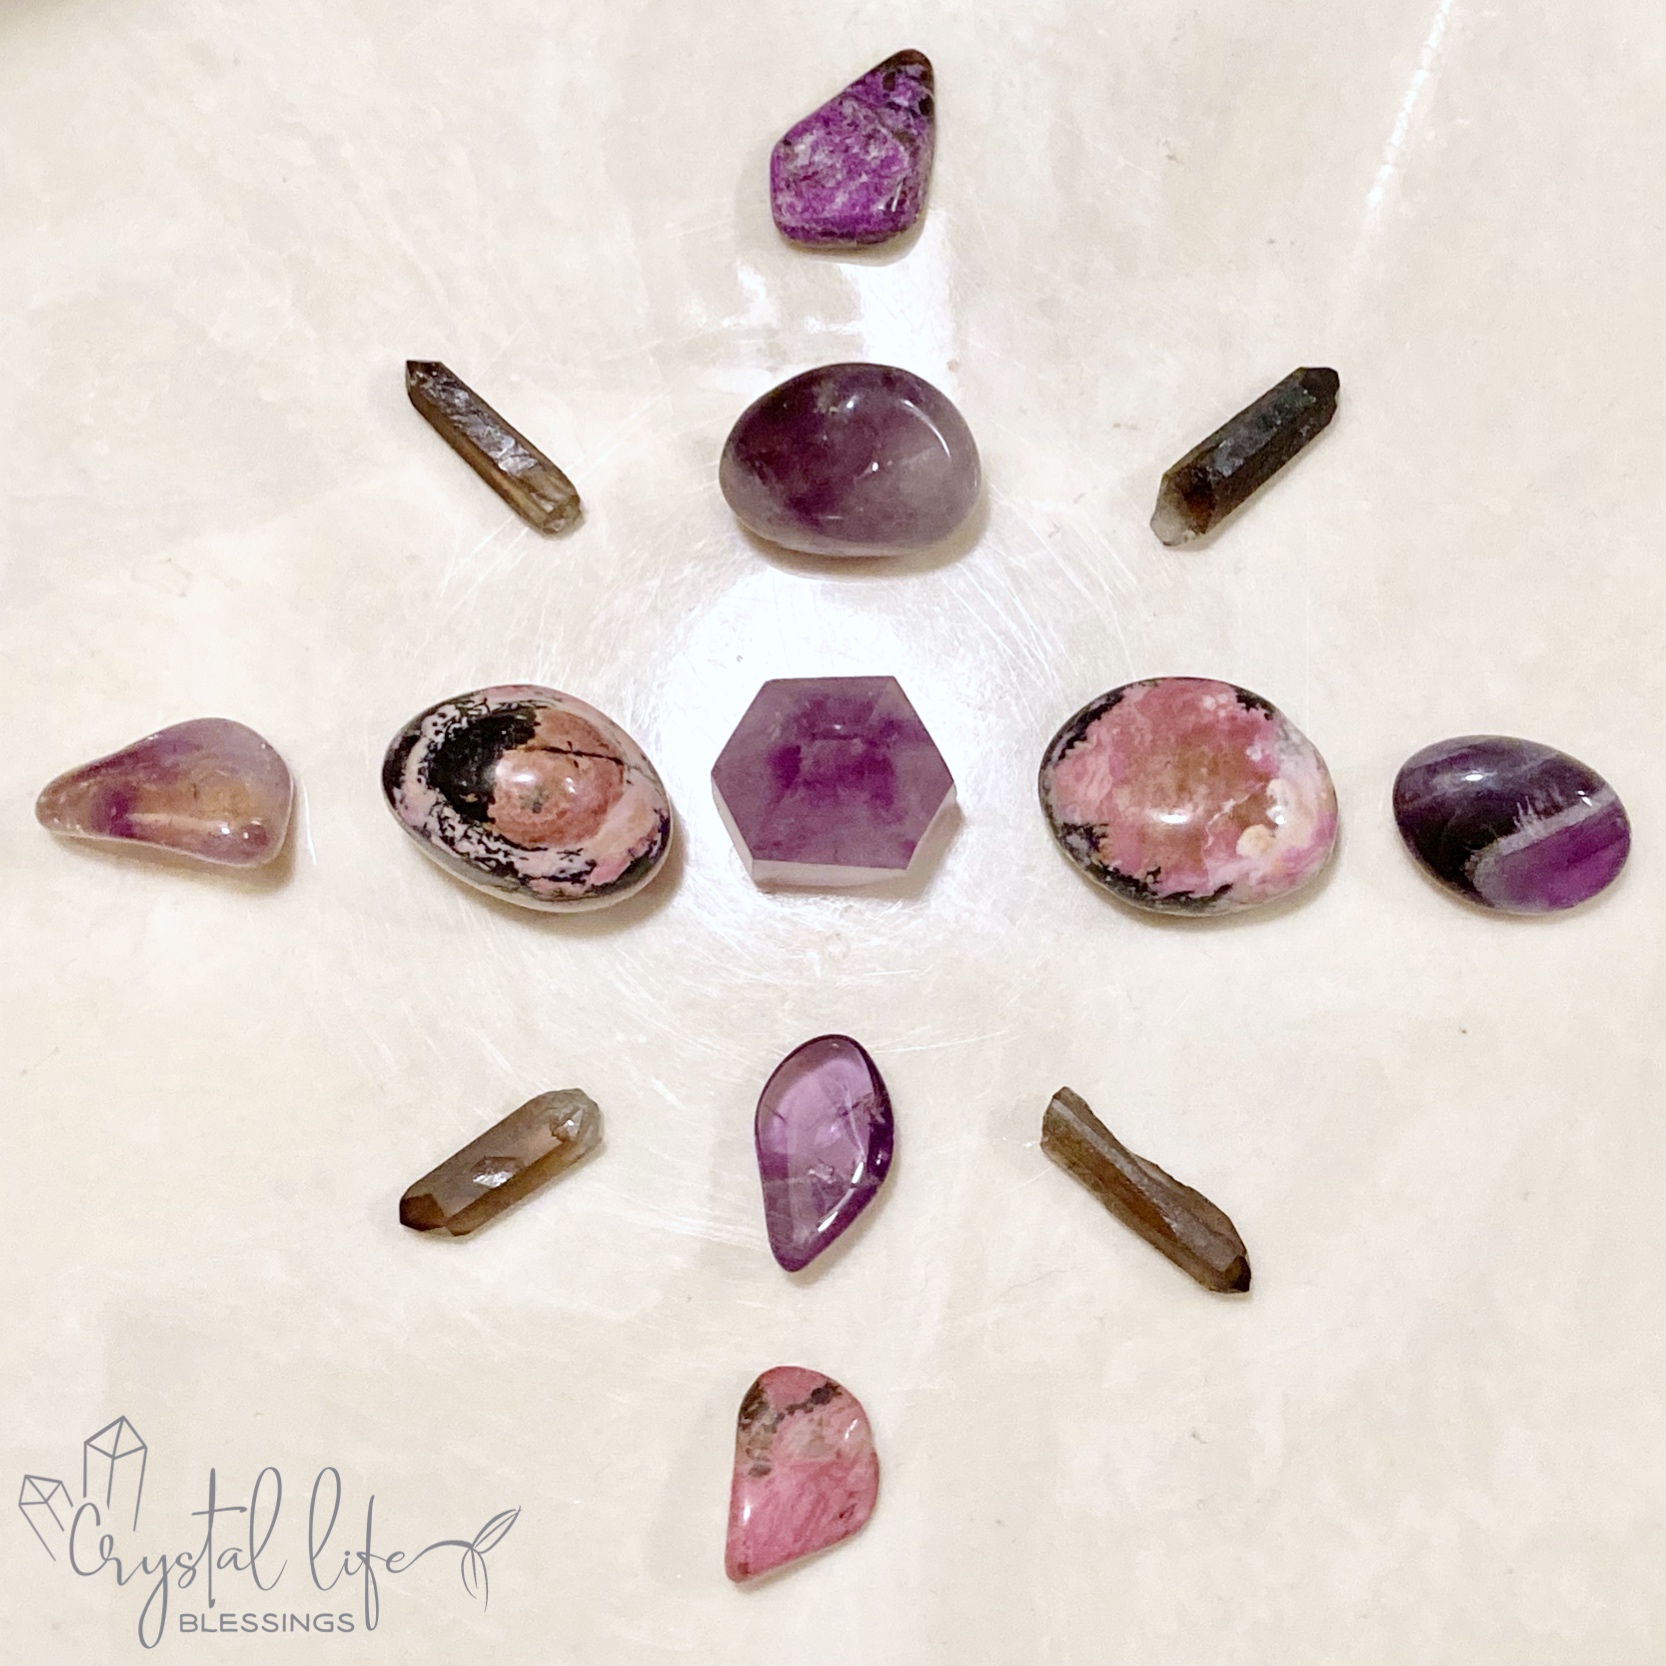
You can use mismatched pairings too, but this comes down to being able to intuitively balance them. I have a Turquoise and a Chrysocolla that often go opposite one another, and a Ruby and a Garnet that sometimes find each other balancing one another out in a grid. Typically, I pull from similar colors which typically tie to chakras.
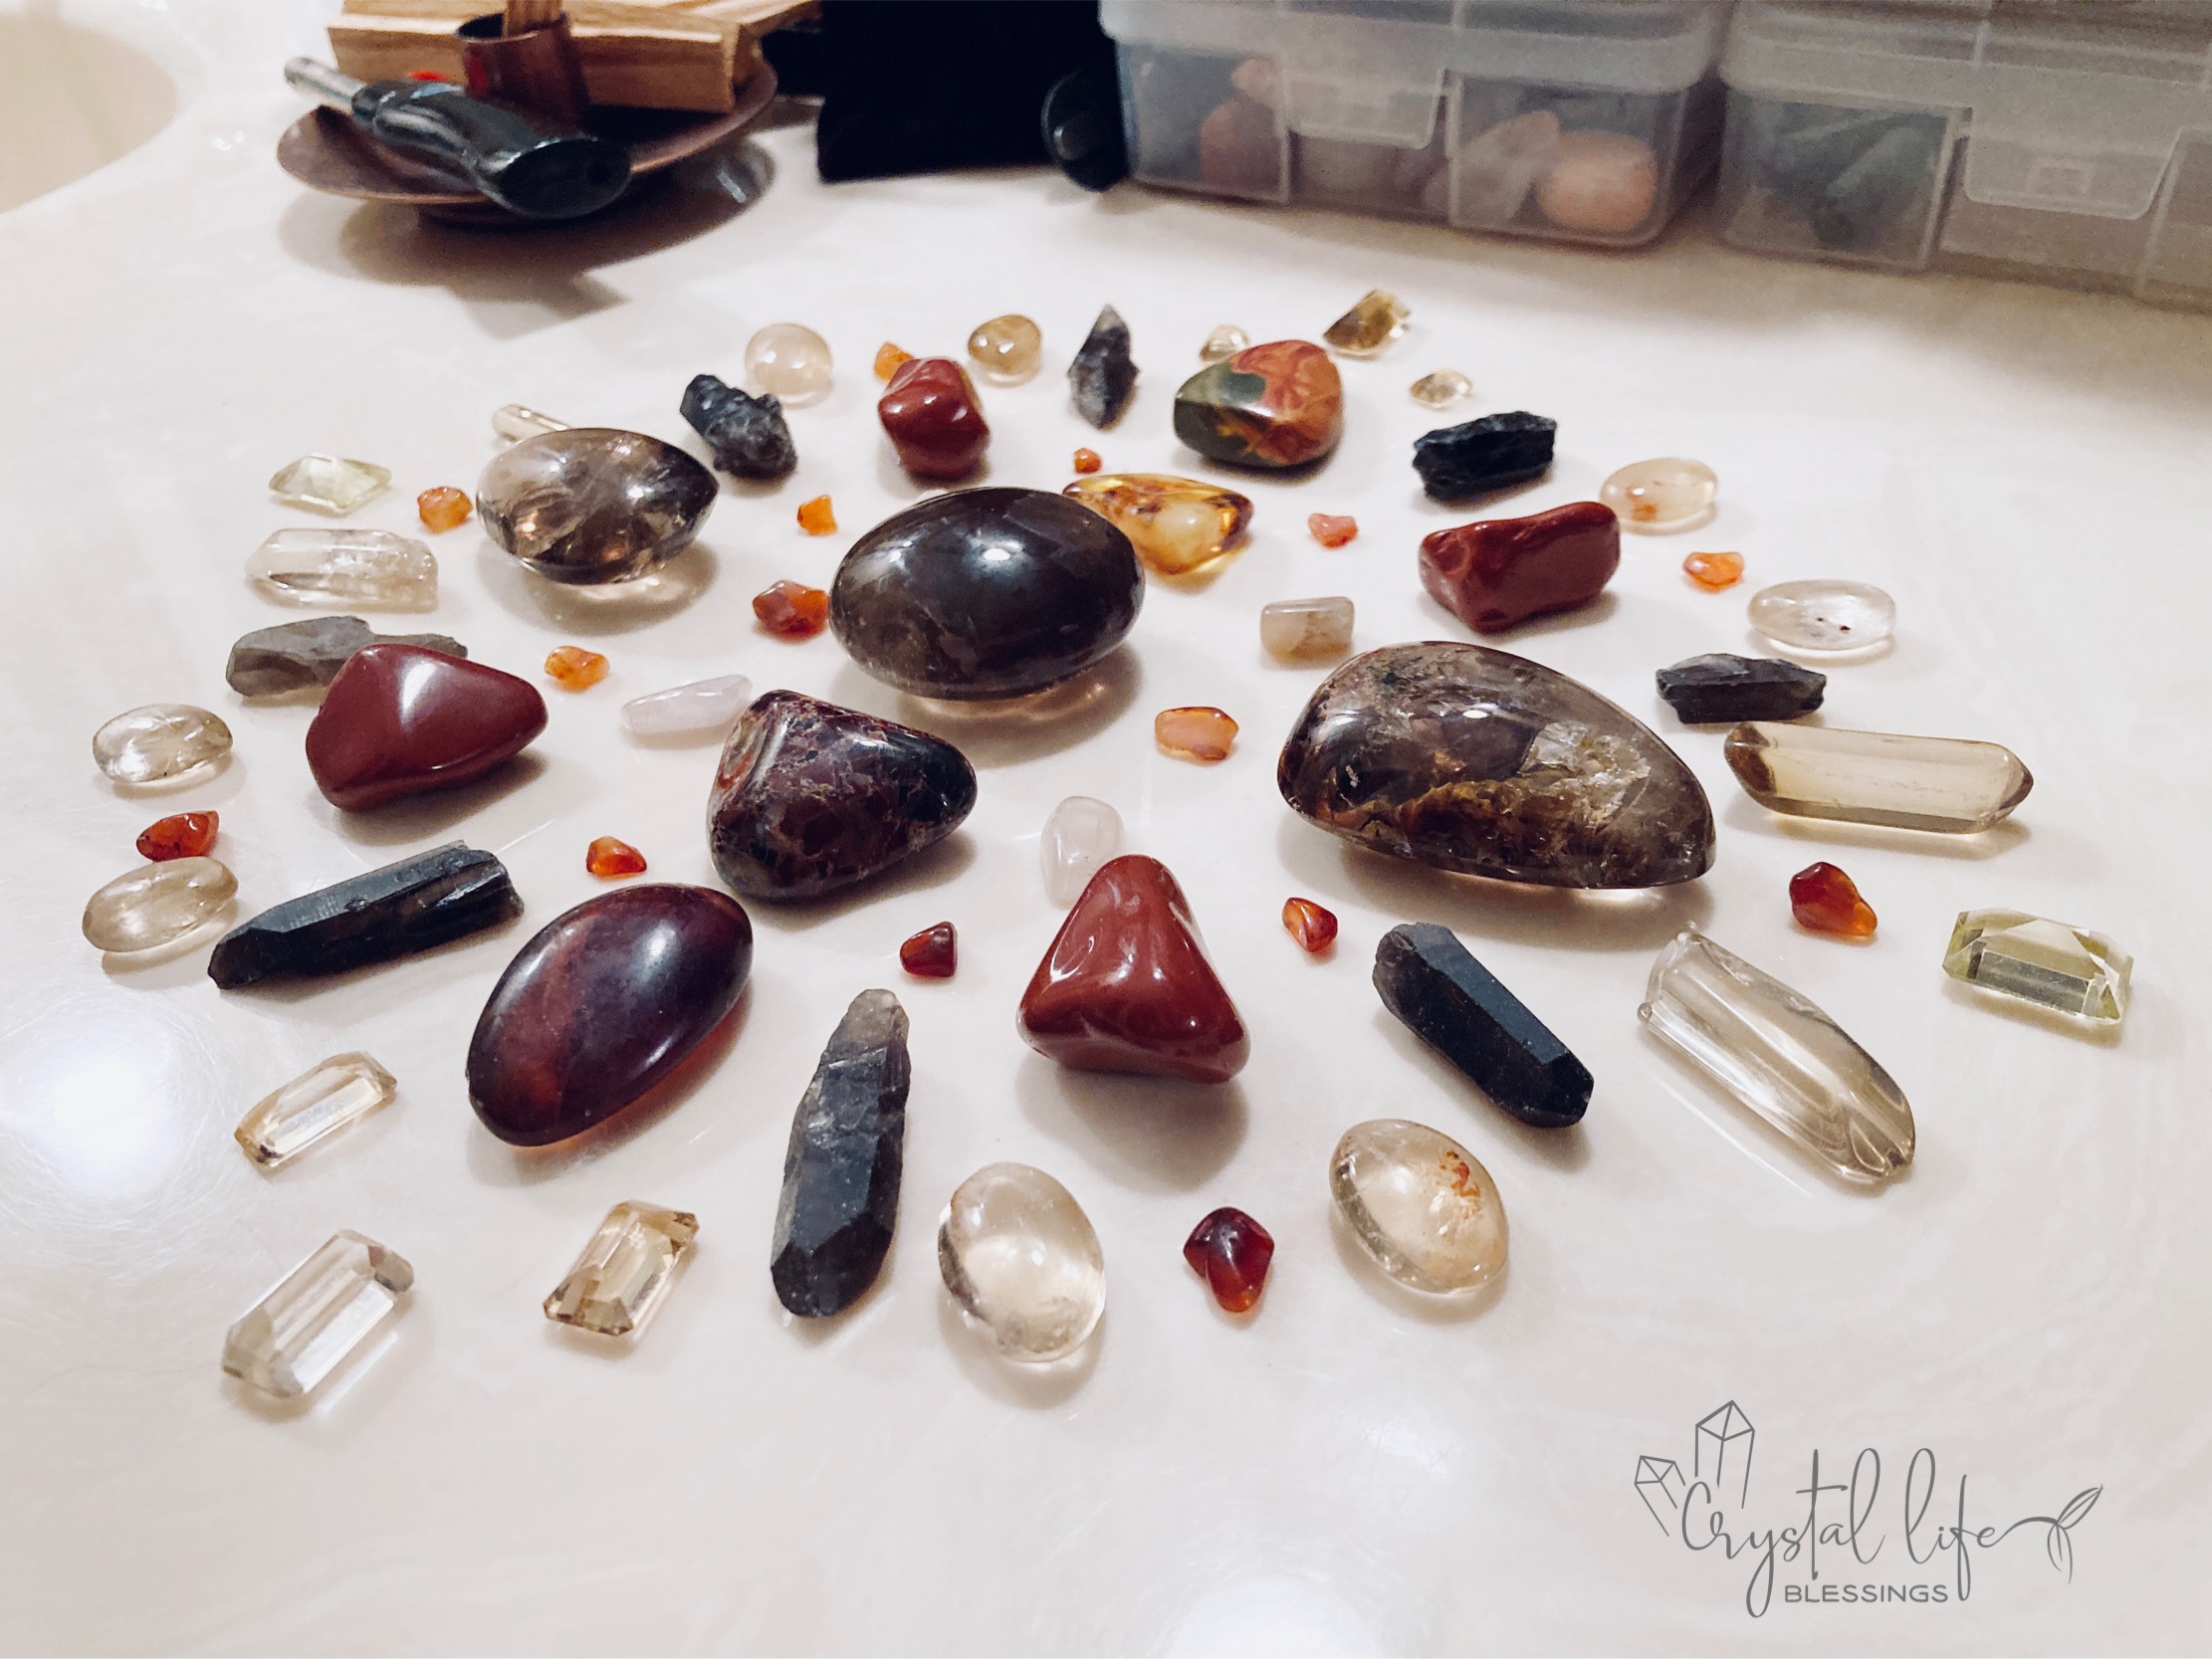
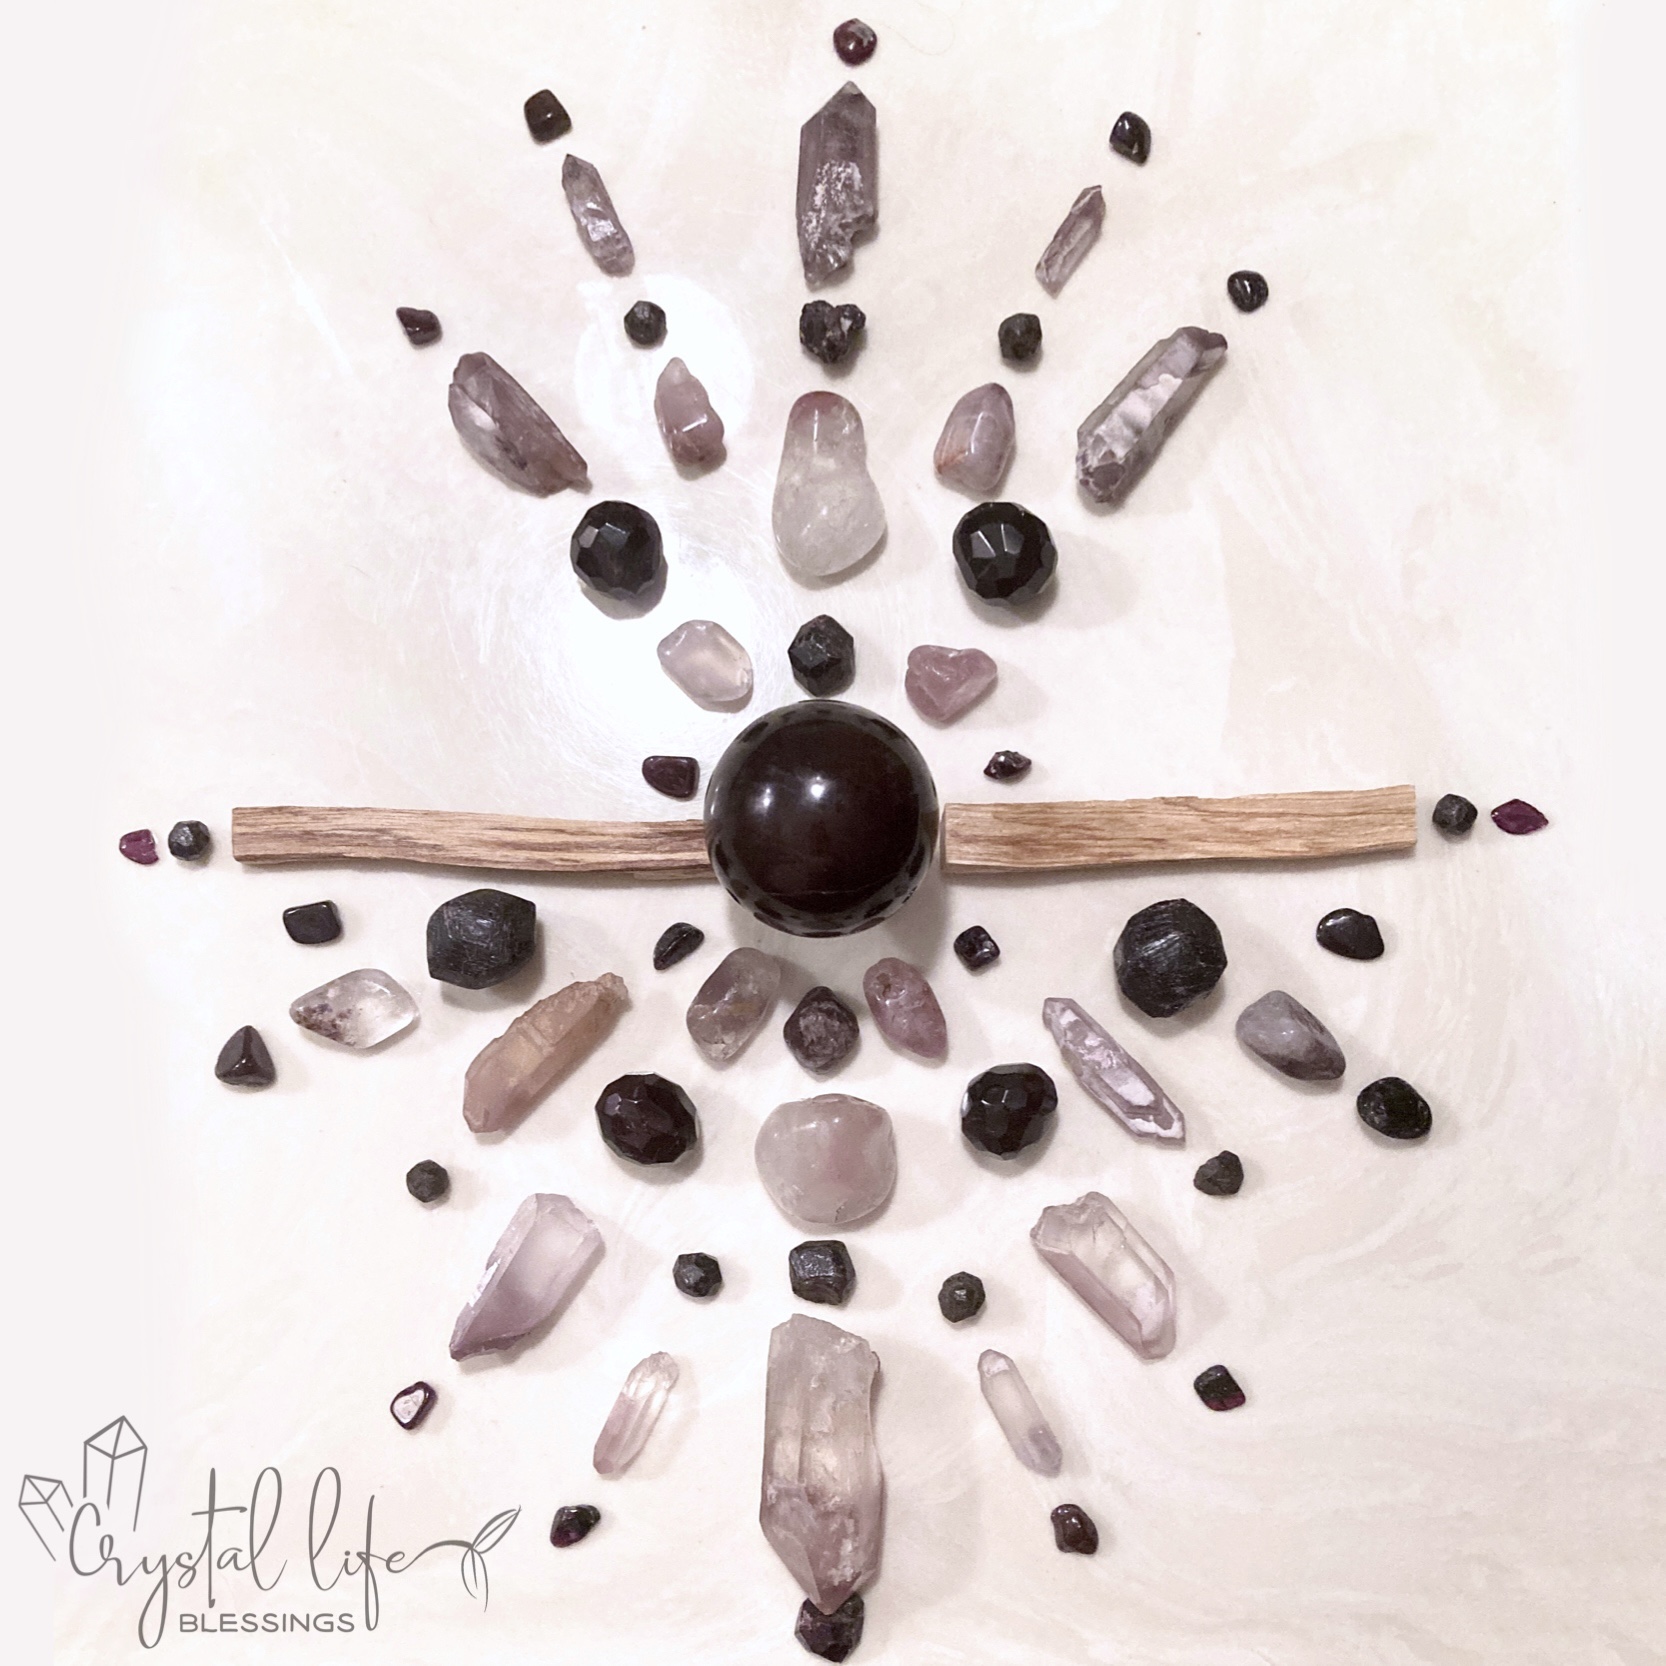
I’ll also note that many people like to include things other than crystals in their grids – like dried flowers, leaves, sticks (or in my case, Palo Santo). This is wonderful too! Feel free to get creative and just flow with how you feel led.


Choosing a Location
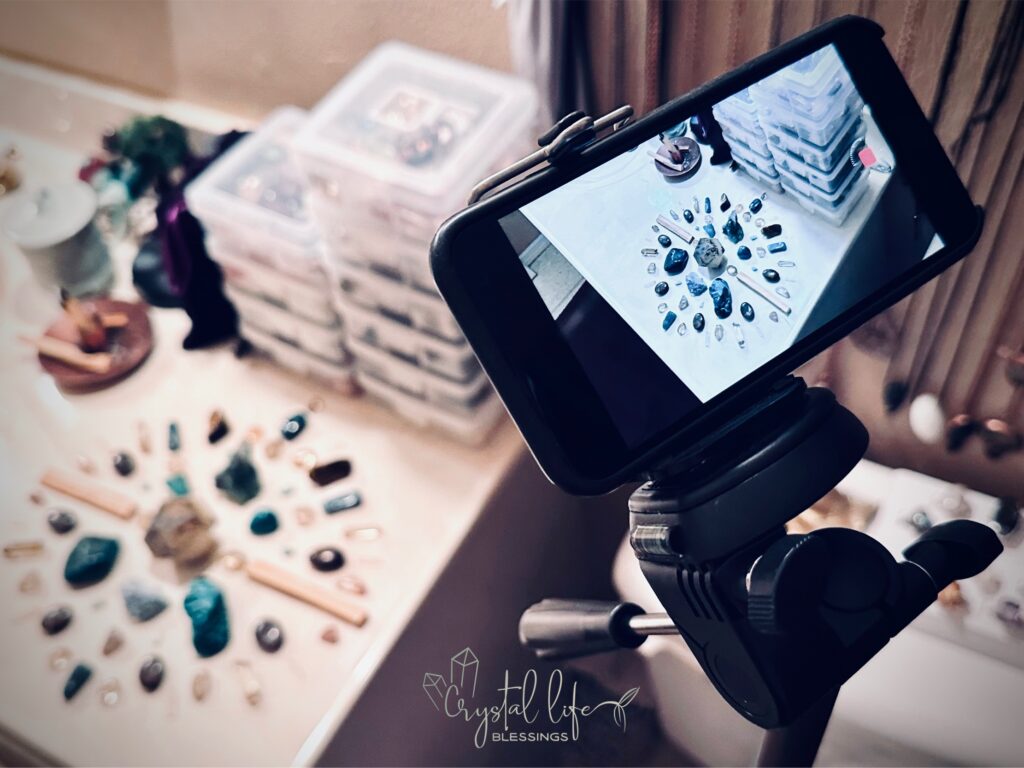
Some may choose different places for their grids each time, but for me I have my “grid spot.” When picking a spot obviously you want a flat surface, and hopefully someplace it will be seen but not disrupted.
You’ll want to keep in mind floor vibration too if you have small children running or heavier footed roommates or significant others (or if you like a lot of bass). The smaller crystal especially will move around. Not to worry (I address this below in grid maintenance), but it’s still something to keep in mind when choosing.
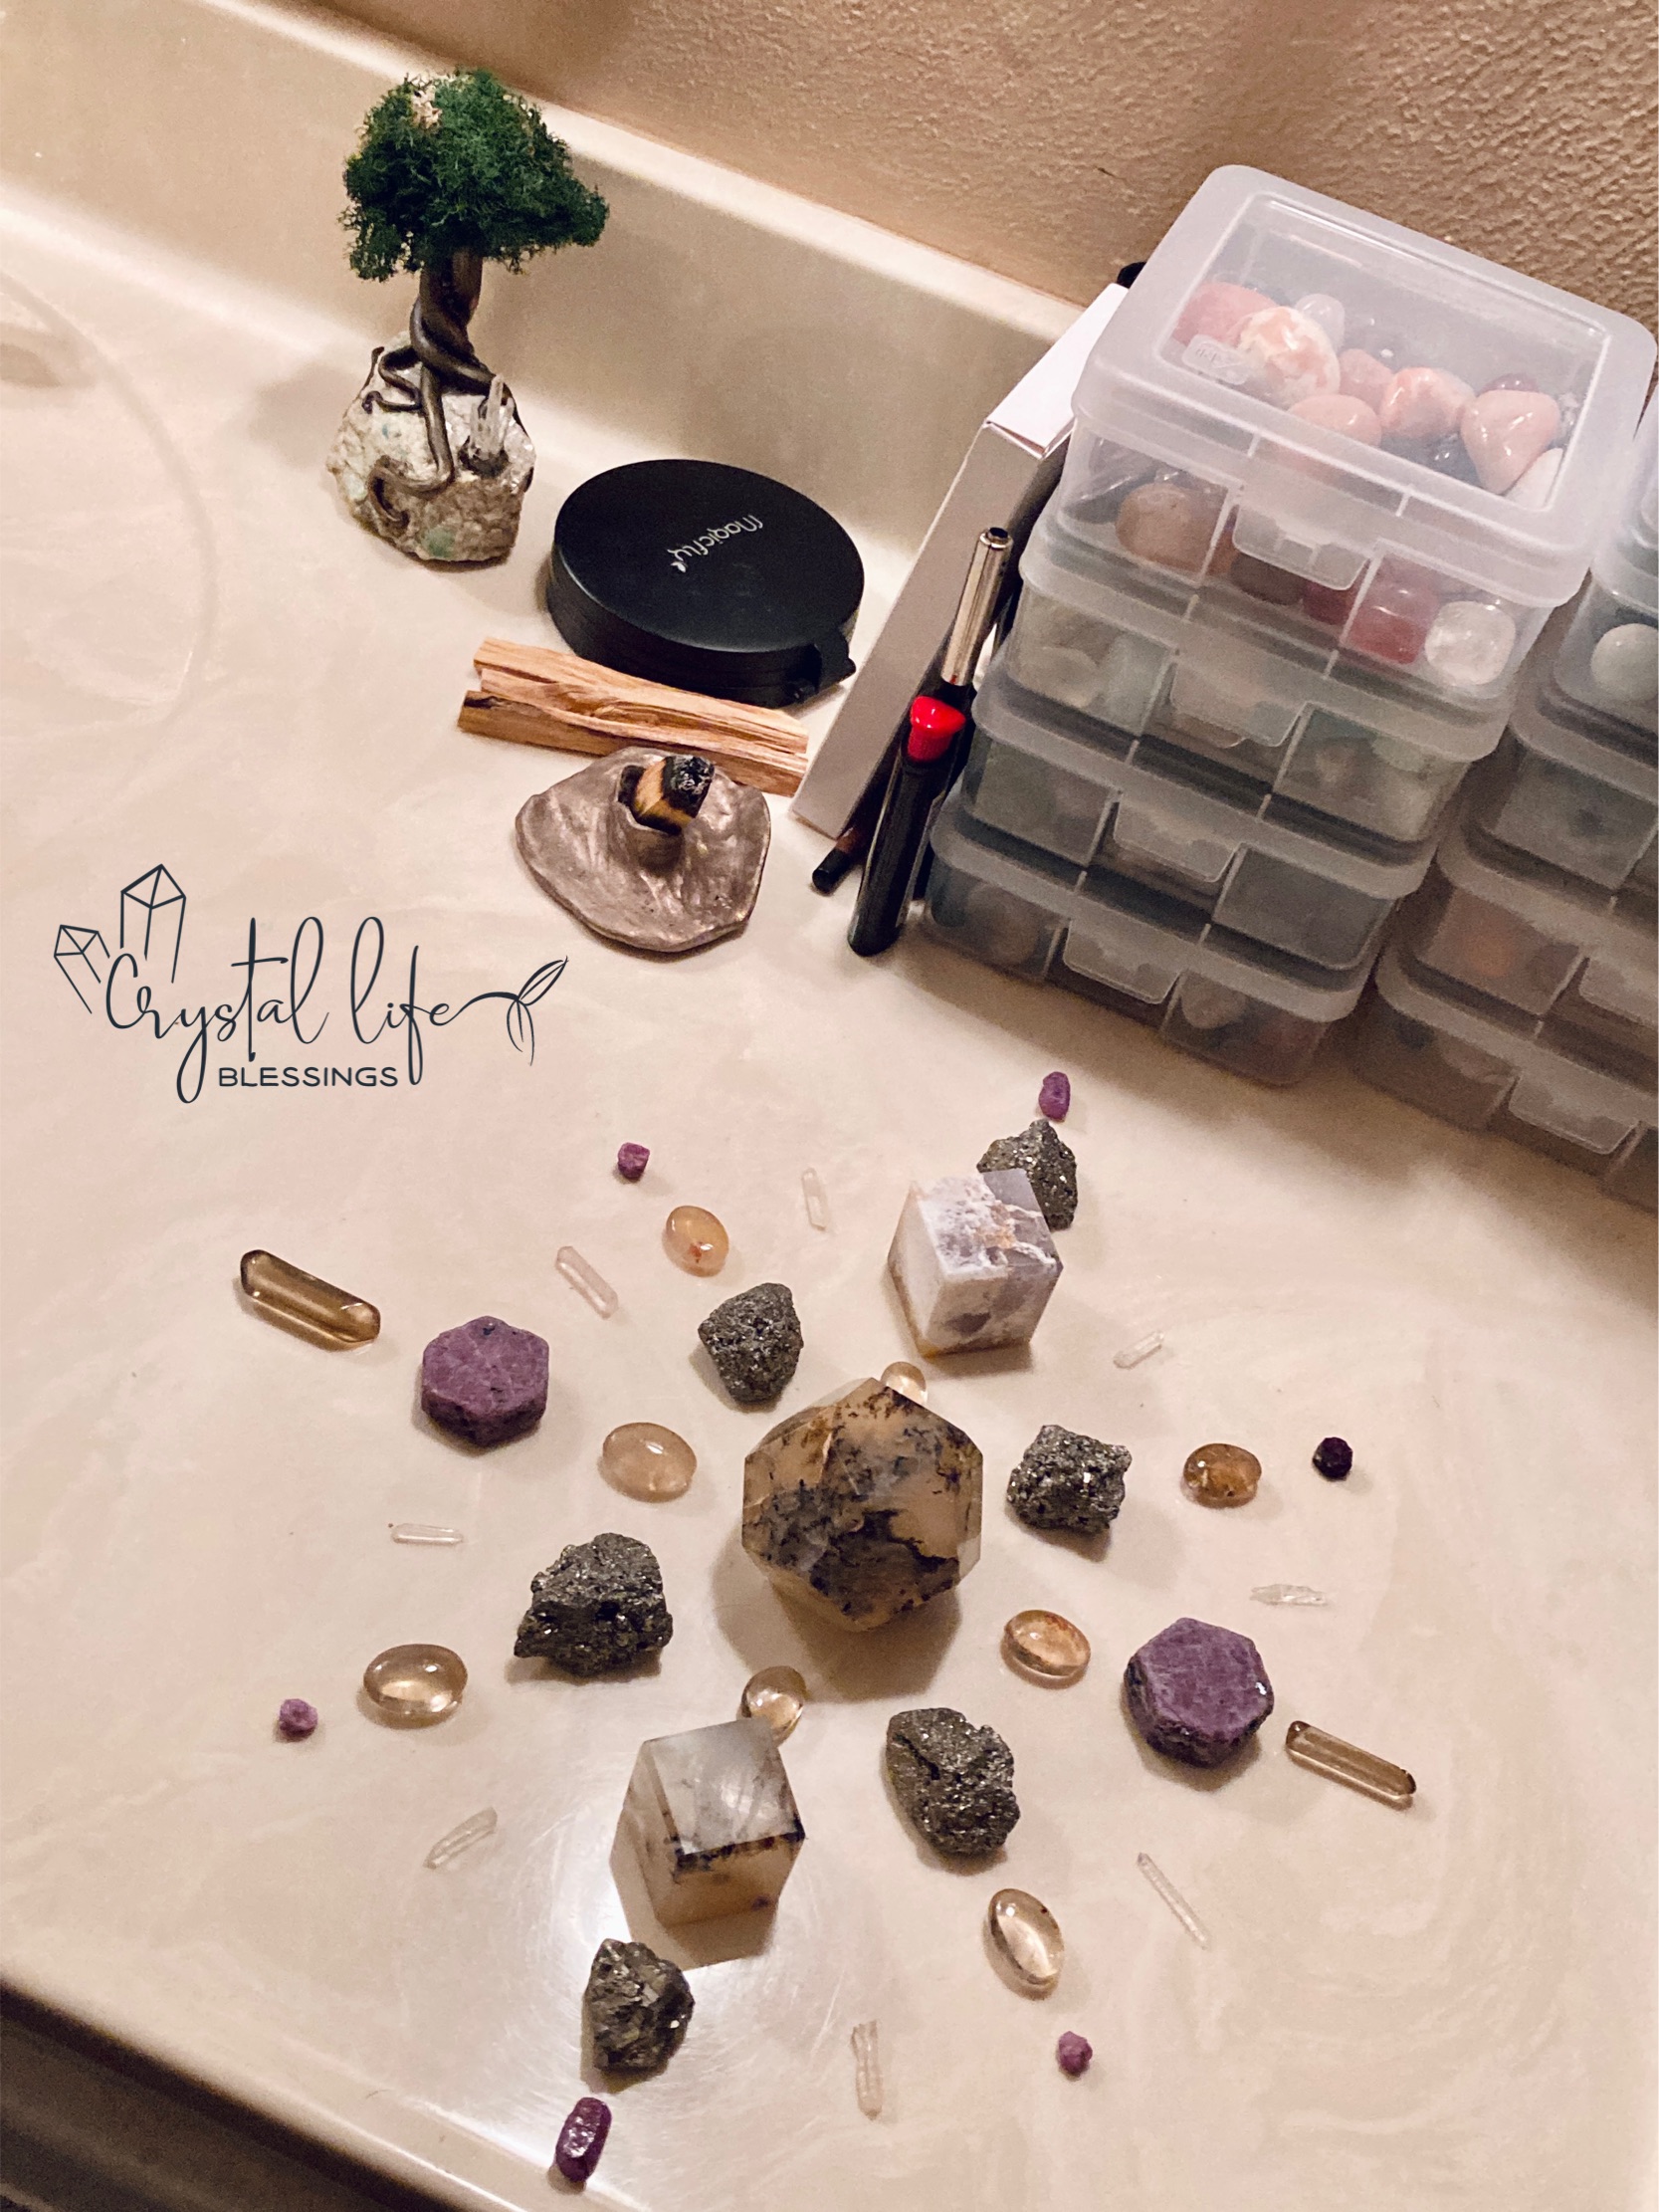
My set up is in my bathroom. I like that I see it all day every day, and that I can have many intentional moments of connection with it. I also have nearby cabinet space for storage, so this has proved a wonderful spot for me (unless visitors come and put a purse on the counter, but usually they try to be careful because they’ve come to enjoy them as well).
Getting Started
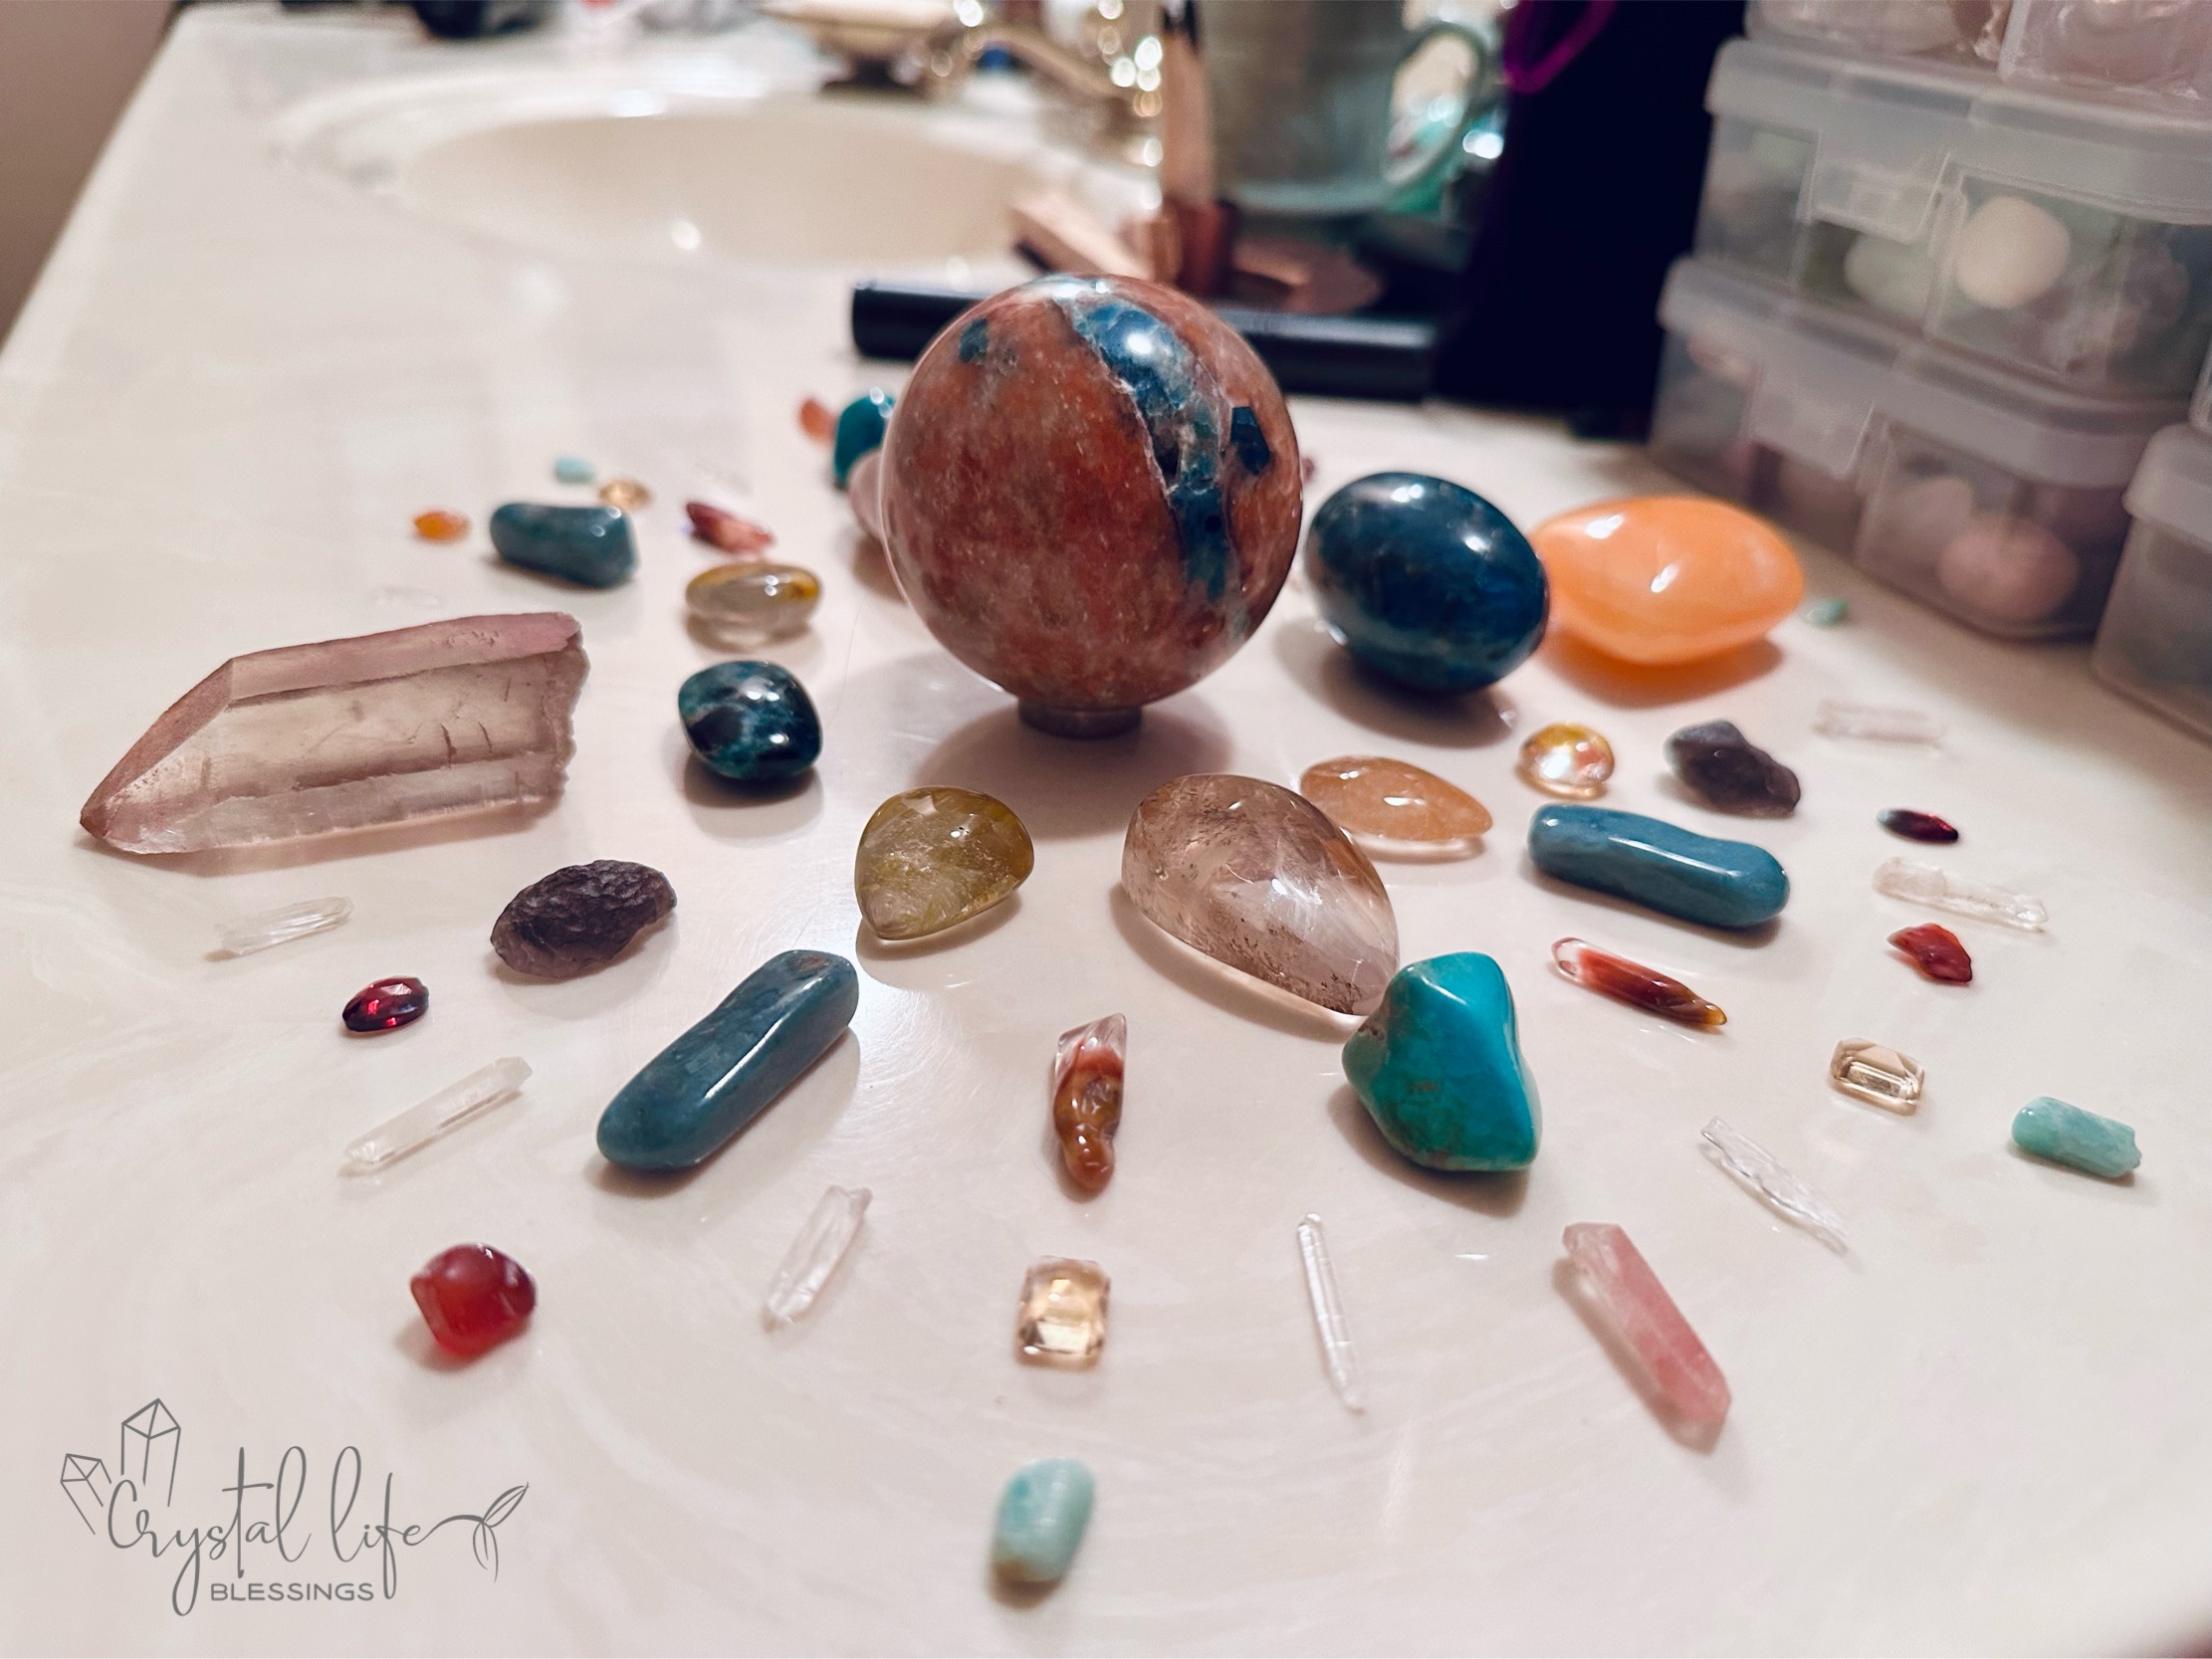
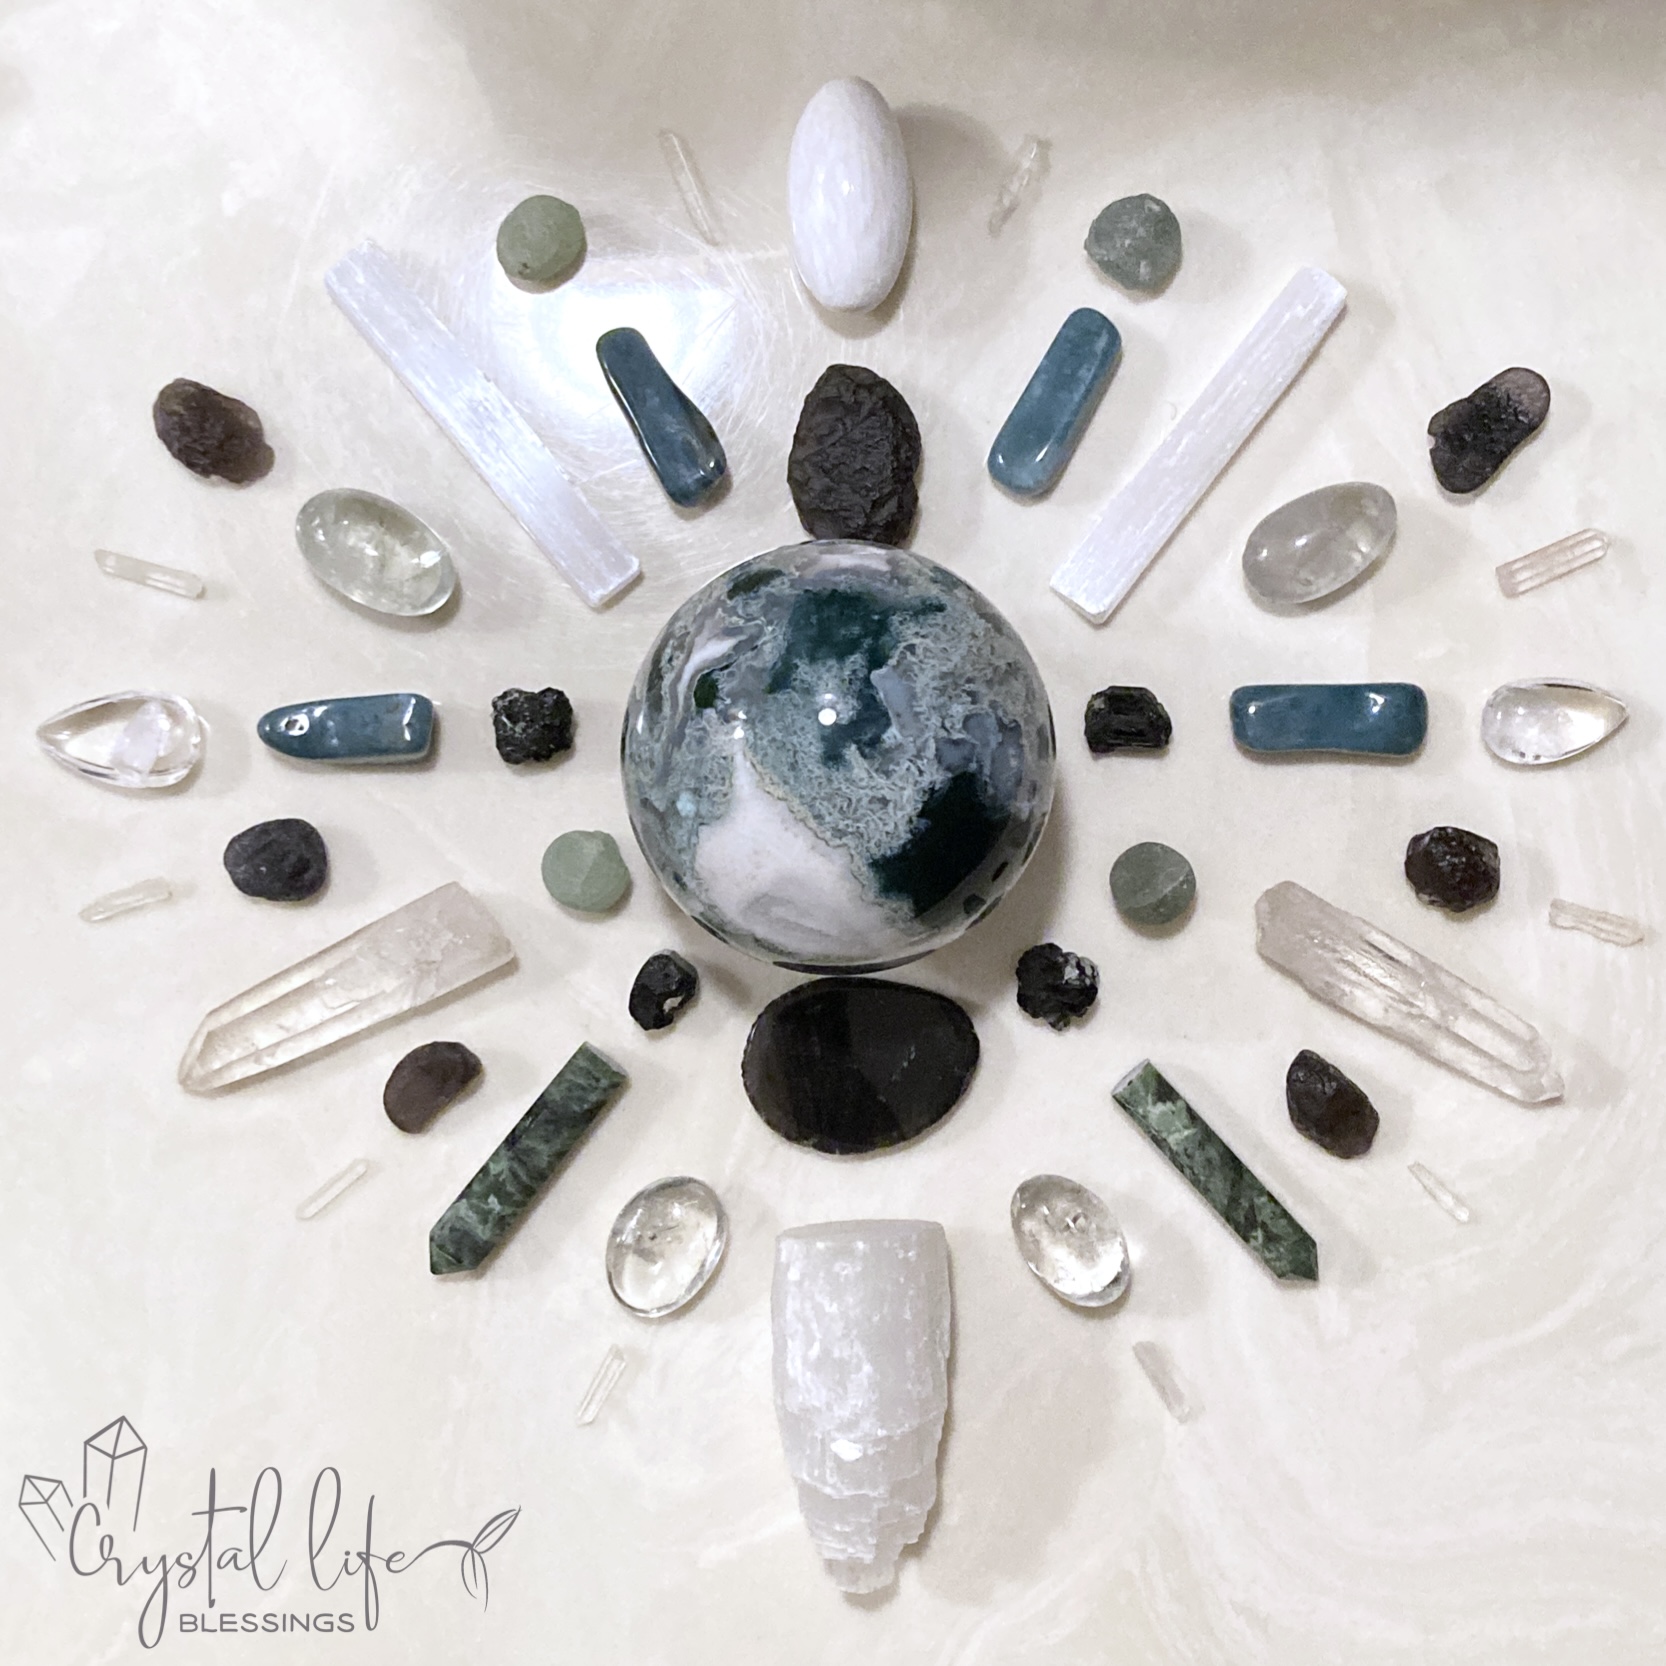
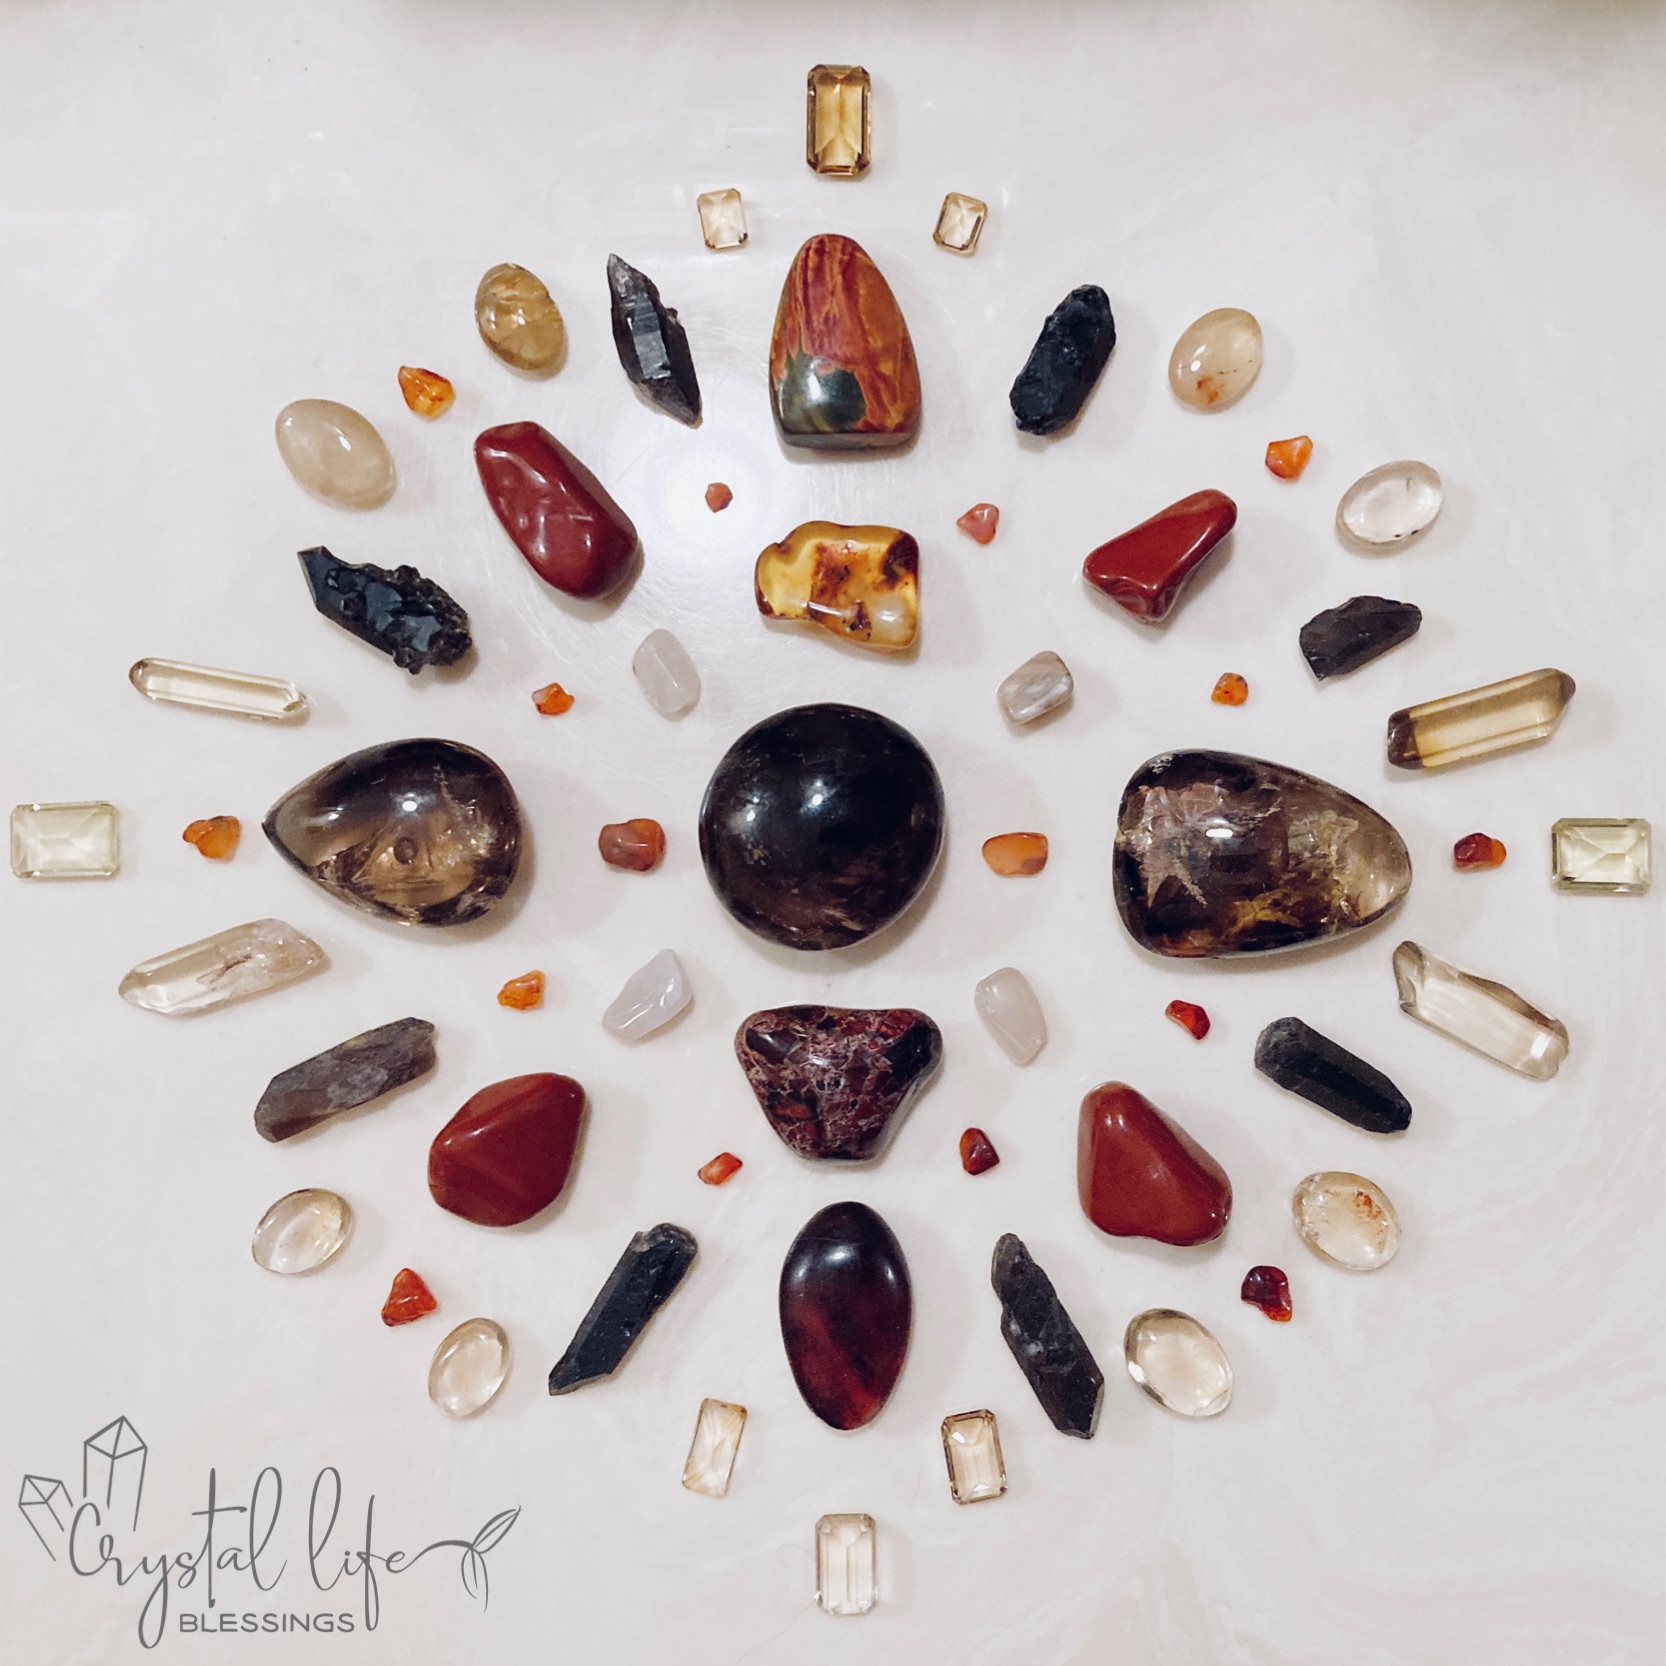
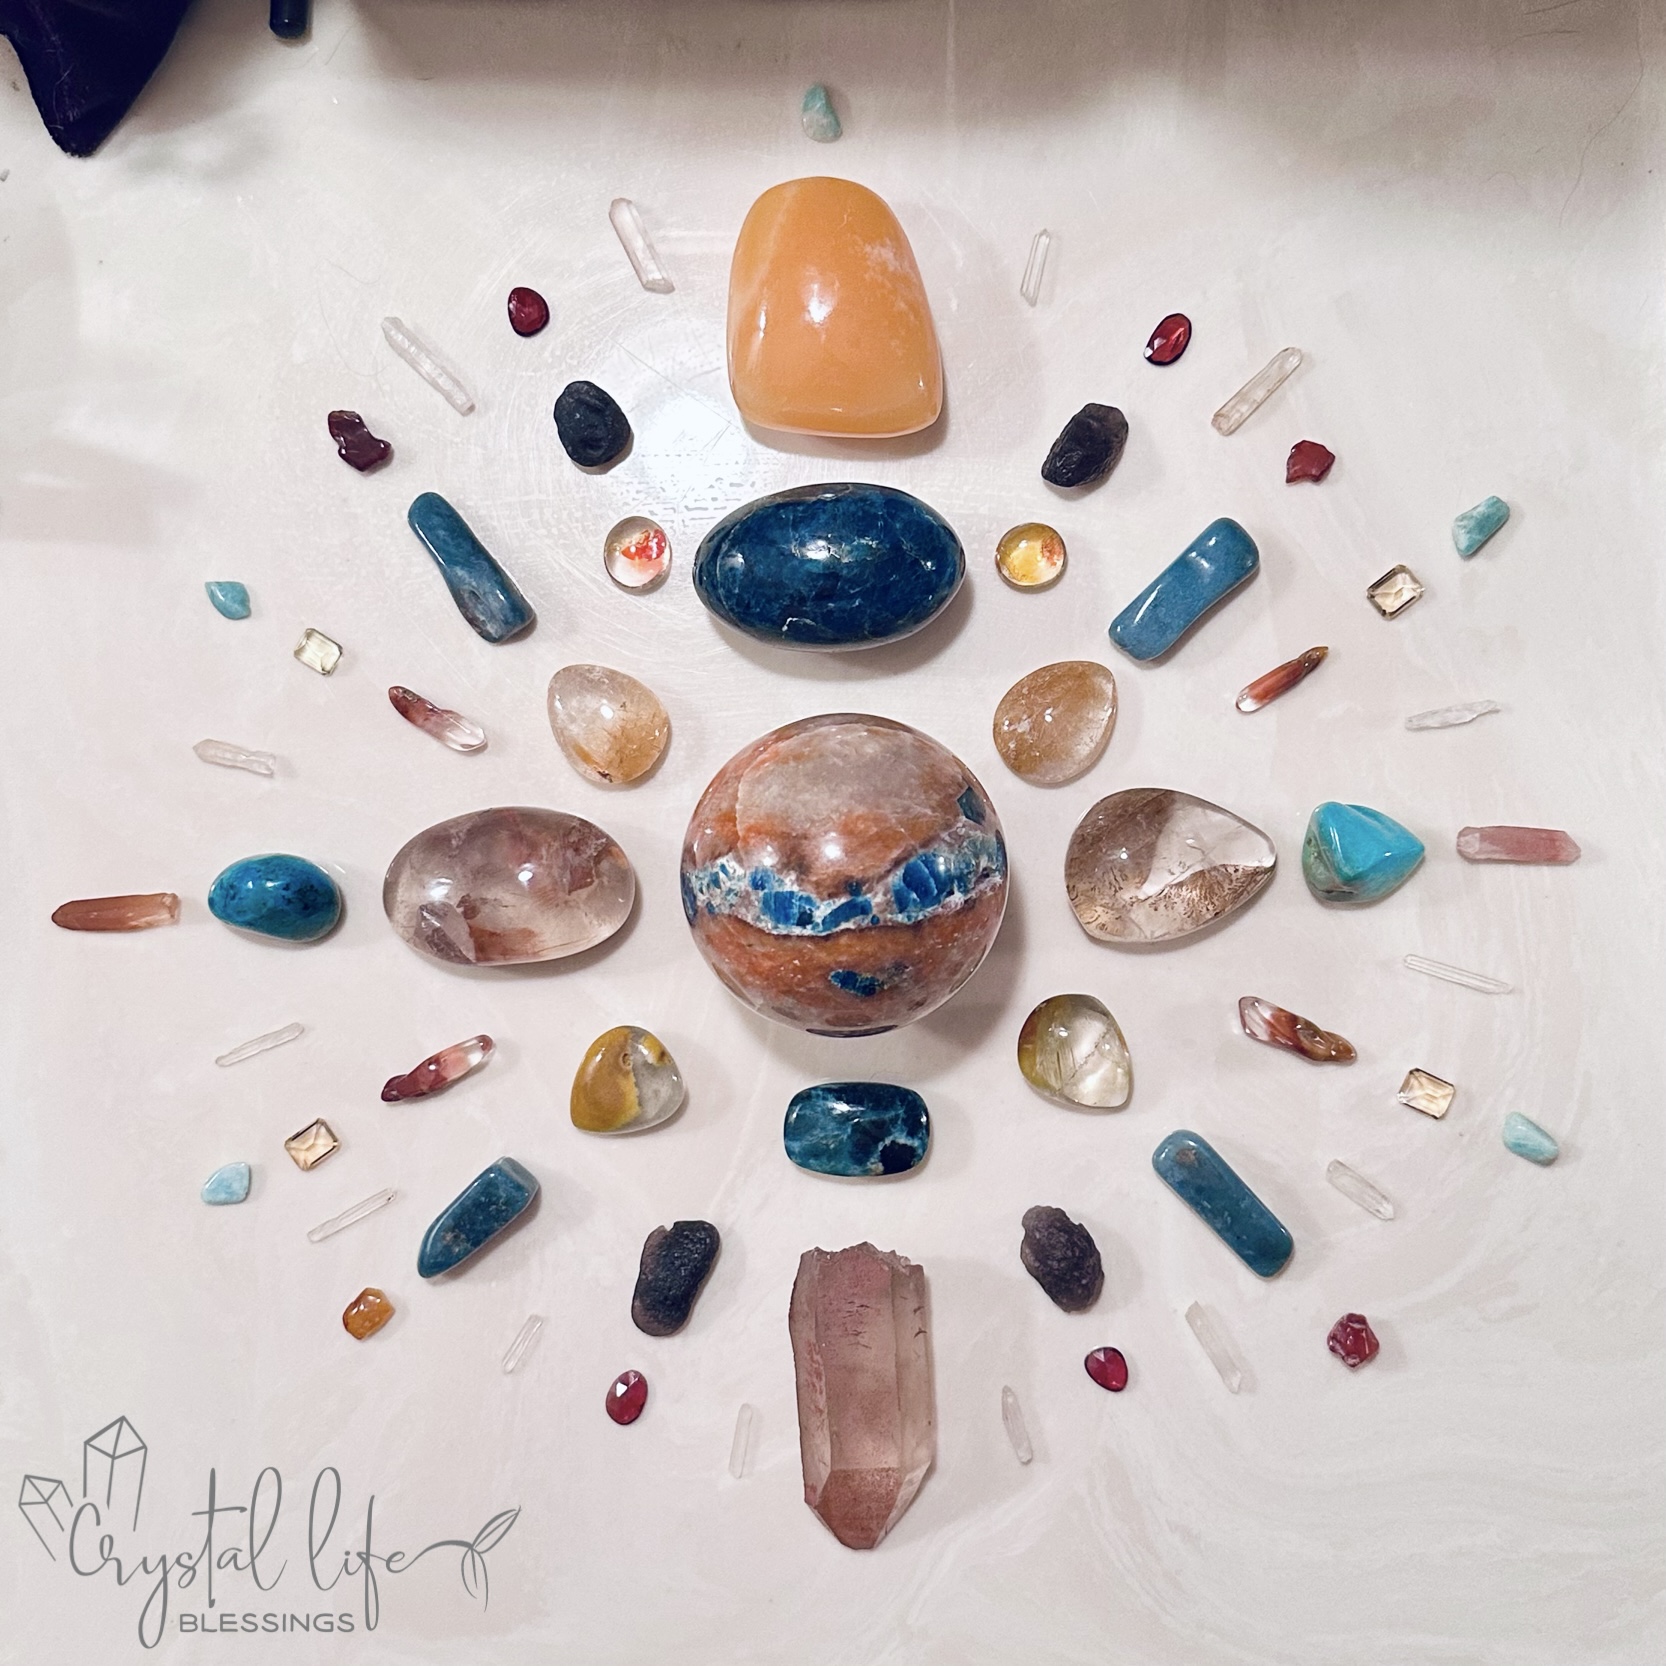
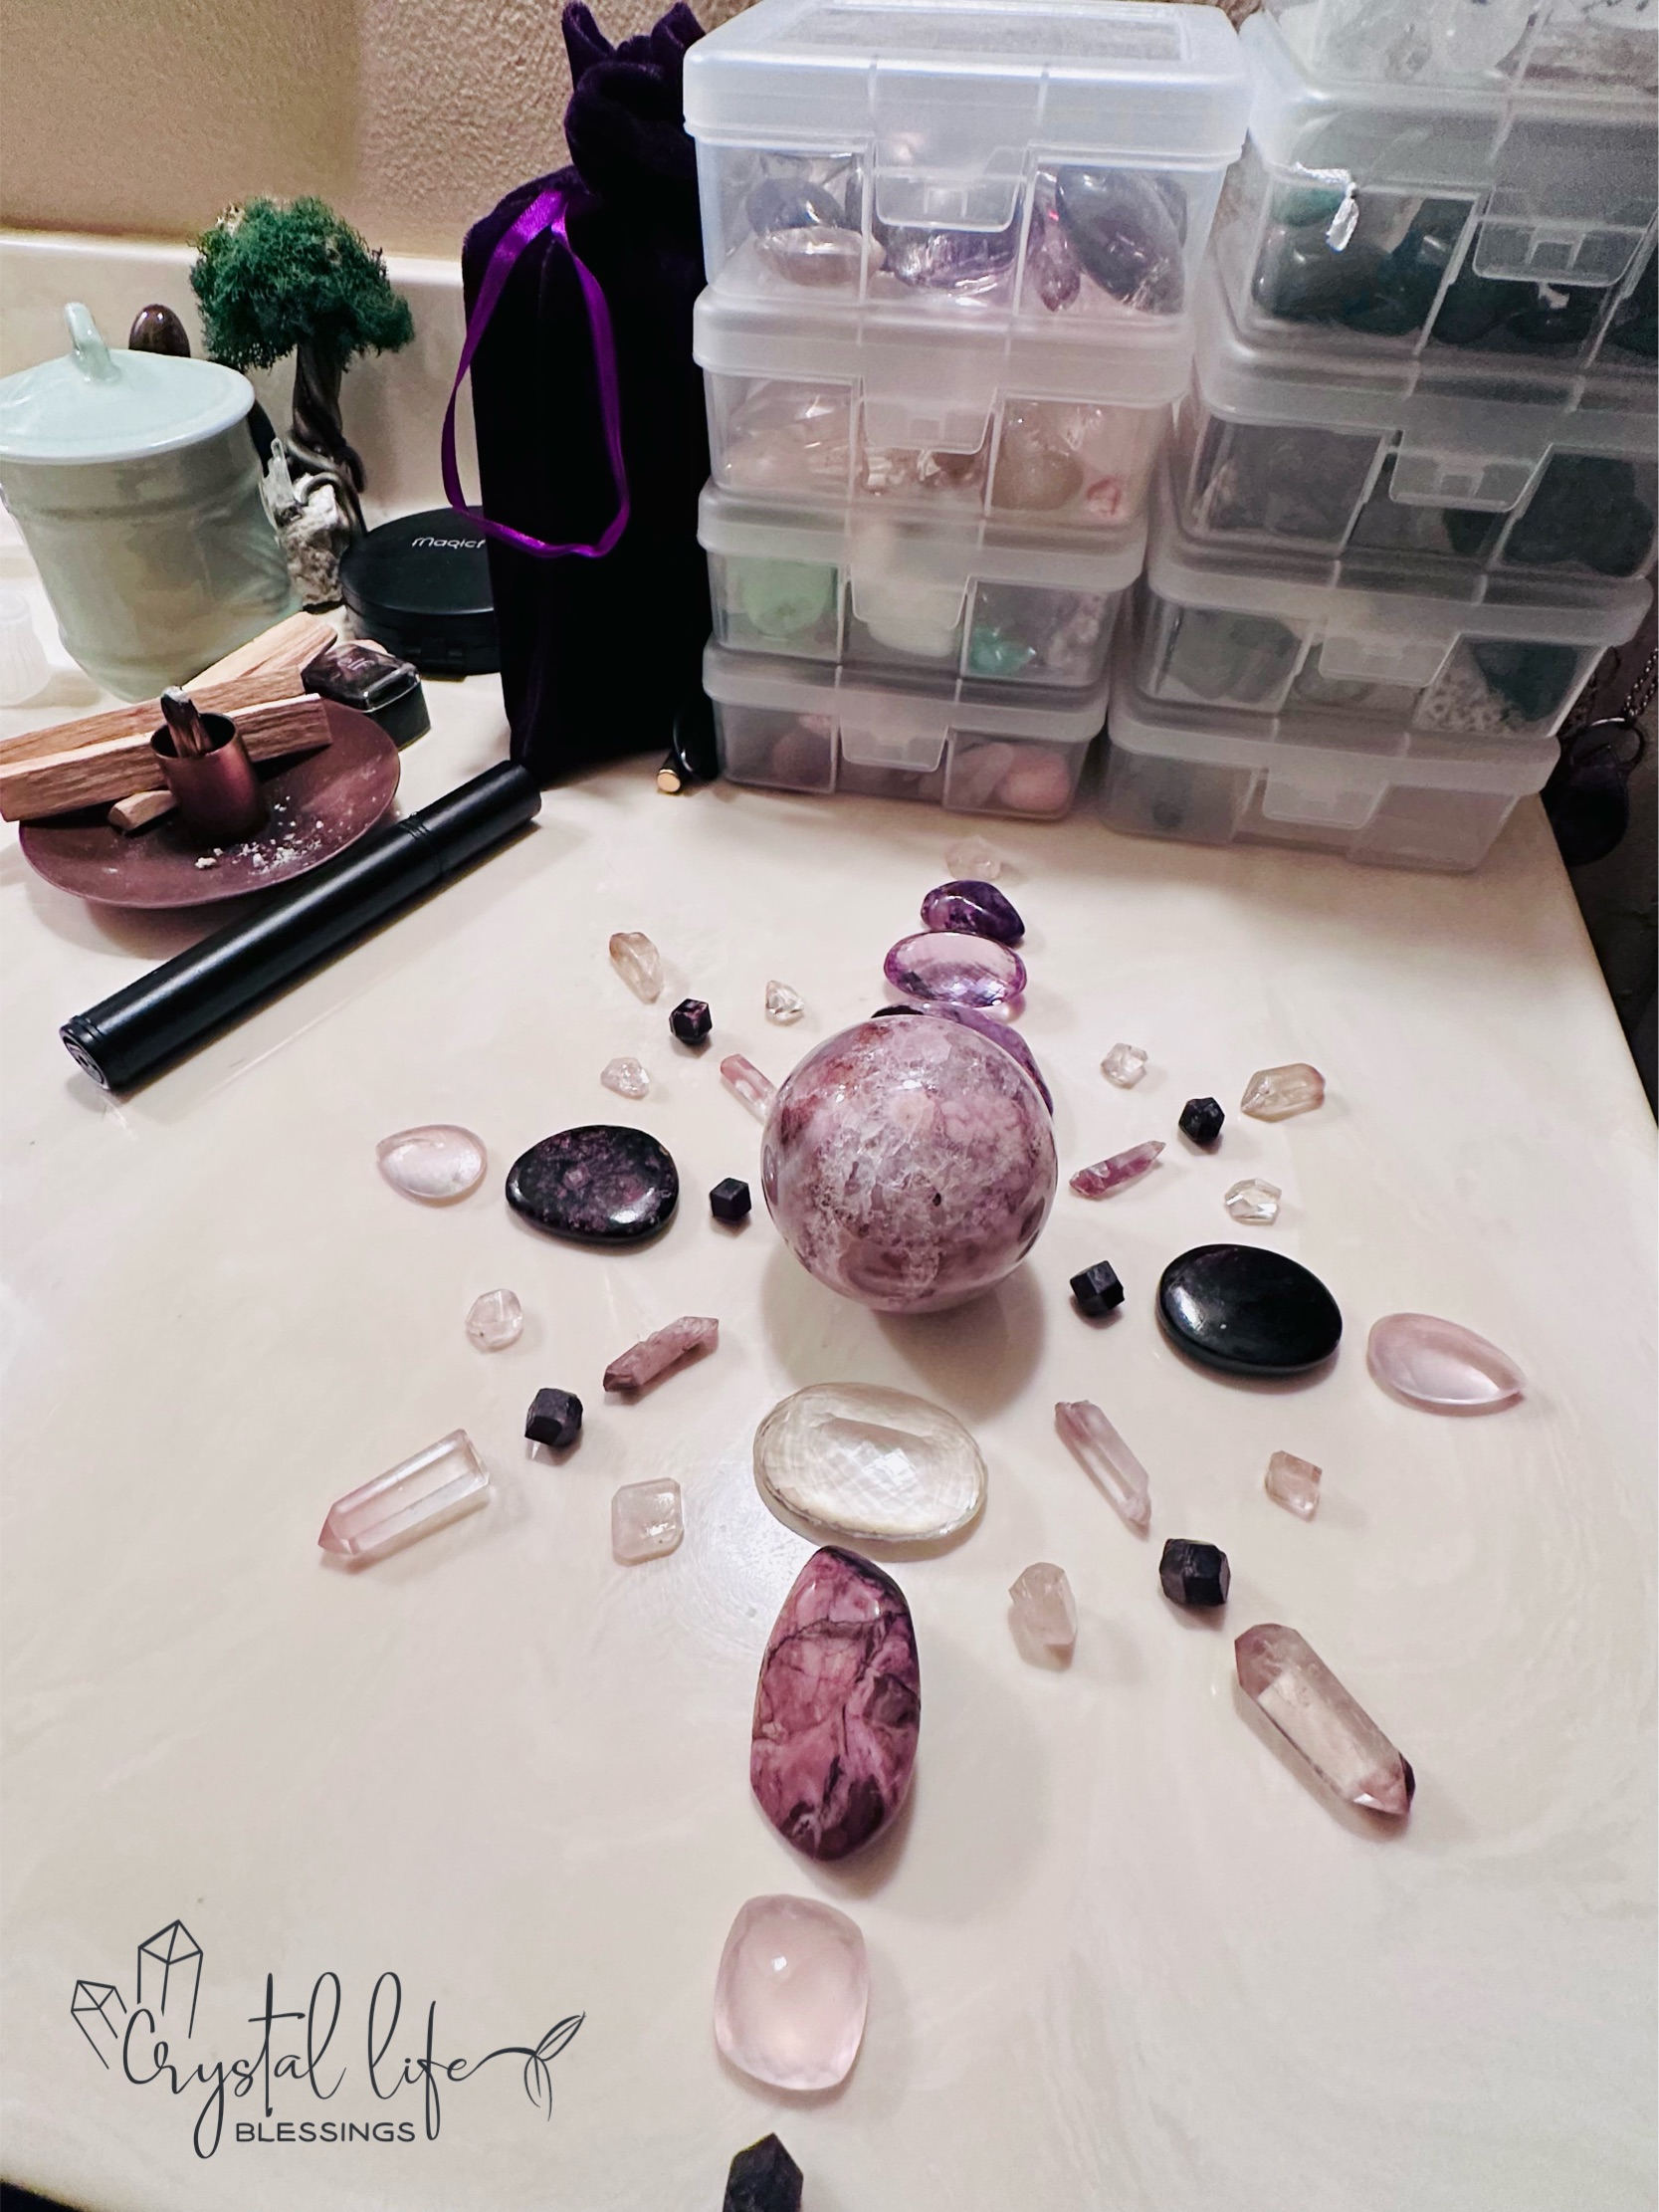
When I’m ready to start a grid, usually it begins by having the focal piece call to me. Because I have an obsession with spheres, you’ll often find a sphere at the center of my grids. Since spheres disperse their energy more gently and in all directions, I equate this to how essential oils might work in a diffuser – gently infusing their healing goodness into the atmosphere over time. Though shapes are a good things to keep in mind, they are a topic in and of themselves, so let’s focus on selecting our grid components.
Once the focal point is selected, usually one of its properties will give me an idea of the direction we’re headed – though sometimes, I simply “see” a color scheme and the meaning will coalesce later on. Using my Stones by Chakra (Energy Center) may be a help too.
Again, for me this is a very intuitive process. I encourage you to do what works for you. Whatever resonates. This is likely a process you’ll determine through trial and error over time. I encourage you to extend grace to yourself and give yourself space to play and learn without judging yourself. Simply watch and learn.
Grid Patterns
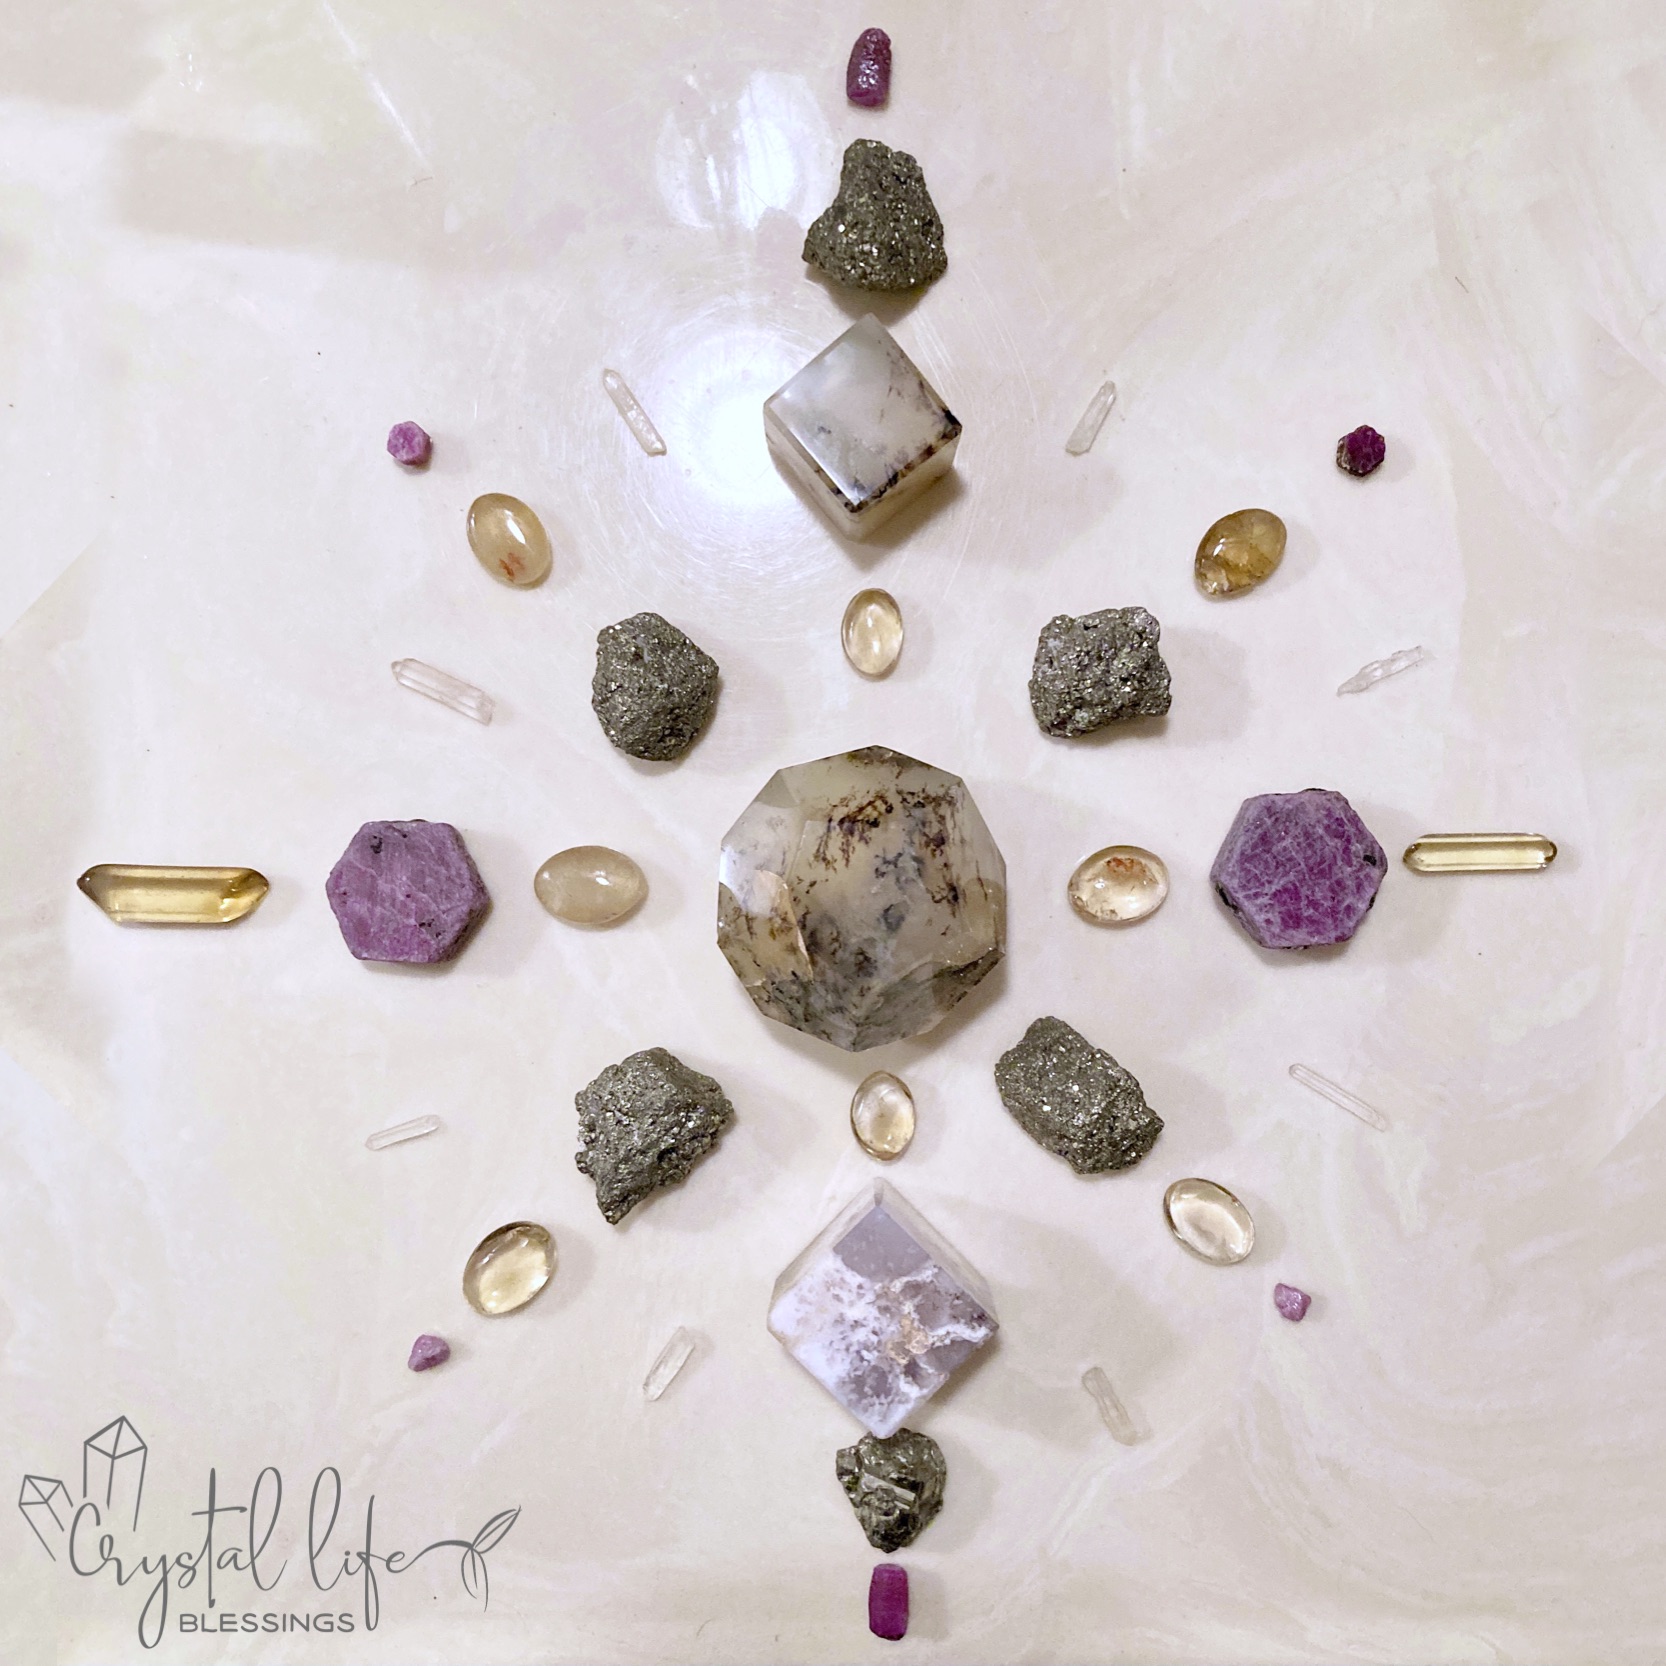
Some people like to use sacred geometry to set up their grids. Some even will place a paper or cloth with the pattern below their grid so they know the placement. This is wonderful if it works for them! I think there are as many ways to create grids as their are different people with different ideas. I don’t think there’s a “right” or “wrong” way as long as you’re doing it with loving intention.
For me, again I intuitively place the elements as I feel led. I don’t know how to explain it better than to say the crystals tell me where they want to go. It’s like creating a seating chart with the individuals sitting near you while you do it whispering “I want to be by so-and-so” or “don’t put me by that guy.” And I keep placing elements until it “feels” done.
Activating Your Grid
Again, there are many schools of thought on this and though I’ll sound like a broken record saying so – use your intuition. Some people use a wand or crystal point to energetically draw lines between the different elements to indicate energy flow. Others may use a finger. All this is wonderful if that’s how you feel led.
My process is that I do a quick Palo Santo cleanse, and then circle the palm of my hand above the grid several times and then swipe upward. My sense is my stones/crystals know how to play together since they told me where they want to go, so I don’t feel I need to direct them – in my mind, they’re the experts! So my hand is me coming into agreement, and then welcoming their energy to release into my home. Essentially we’re partnering together.

Grid Maintenance
Once the grid is activated and in use, you and anyone who visits your space get to enjoy it. But let’s face it, life happens. So no matter how careful you are in picking out a spot, things are likely to get nudged and move over the time it’s out on display and at work. There’s no problem with this. Simply nudge things back into place (or replace a piece if it comes up missing – yes I have had that happen and still no idea how!).
Let your intuition tell you if it needs reactivating. I think of it like a marathon runner grabbing a water along the way. They may not be moving their fastest in that moment, but it’s part of the overall process of the longer race. Such is the same for a grid that’s out for weeks or months.
Duration
Let’s pause to talk about that. How long should you leave a grid up? My answer is: as long as your intuition tells you. It’s there to do a job, and you want to give it time to do it. I’ve seen people say it should only be left up for a week or a month – some specified period of time, but I fully believe it will take as long as it takes.
I don’t know how to explain how I know when it’s time to take it down except that I start feeling like it’s “finished.” Usually it will tell me ahead of time. So I may have an idea that it’s almost time for a few days or even a week before it comes down.
Grid Deconstruction
First and foremost, when it comes time to take the grid down, I take a moment to say thank you. Depending on how they feel, I may use some Palo Santo to clear the space, and to clear their energy before putting them away. I may also collect them in a bowl and let them get some sunshine for some clearing. Again, I just use my intuition.
Ultimately, I keep them in structured containers so that it makes it easier to find them again when they’re needed next. To me, it feels like they’re having a nap before they’re next called on to work again.
Because I keep the energy in my home in a good space (I’m constantly singing over them and doing sound bowls over them, as well as sending love and well wishes to them), I fully believe that that helps them to recharge. So whether I intentionally cleanse them outdoors or with Palo Santo or not, I believe they get recharged in between time.
In Conclusion
I hope you enjoy your own gridding adventures! I encourage you to give grace to yourself if you’re just starting – my early ones were very rudimentary, and they were no less effective.
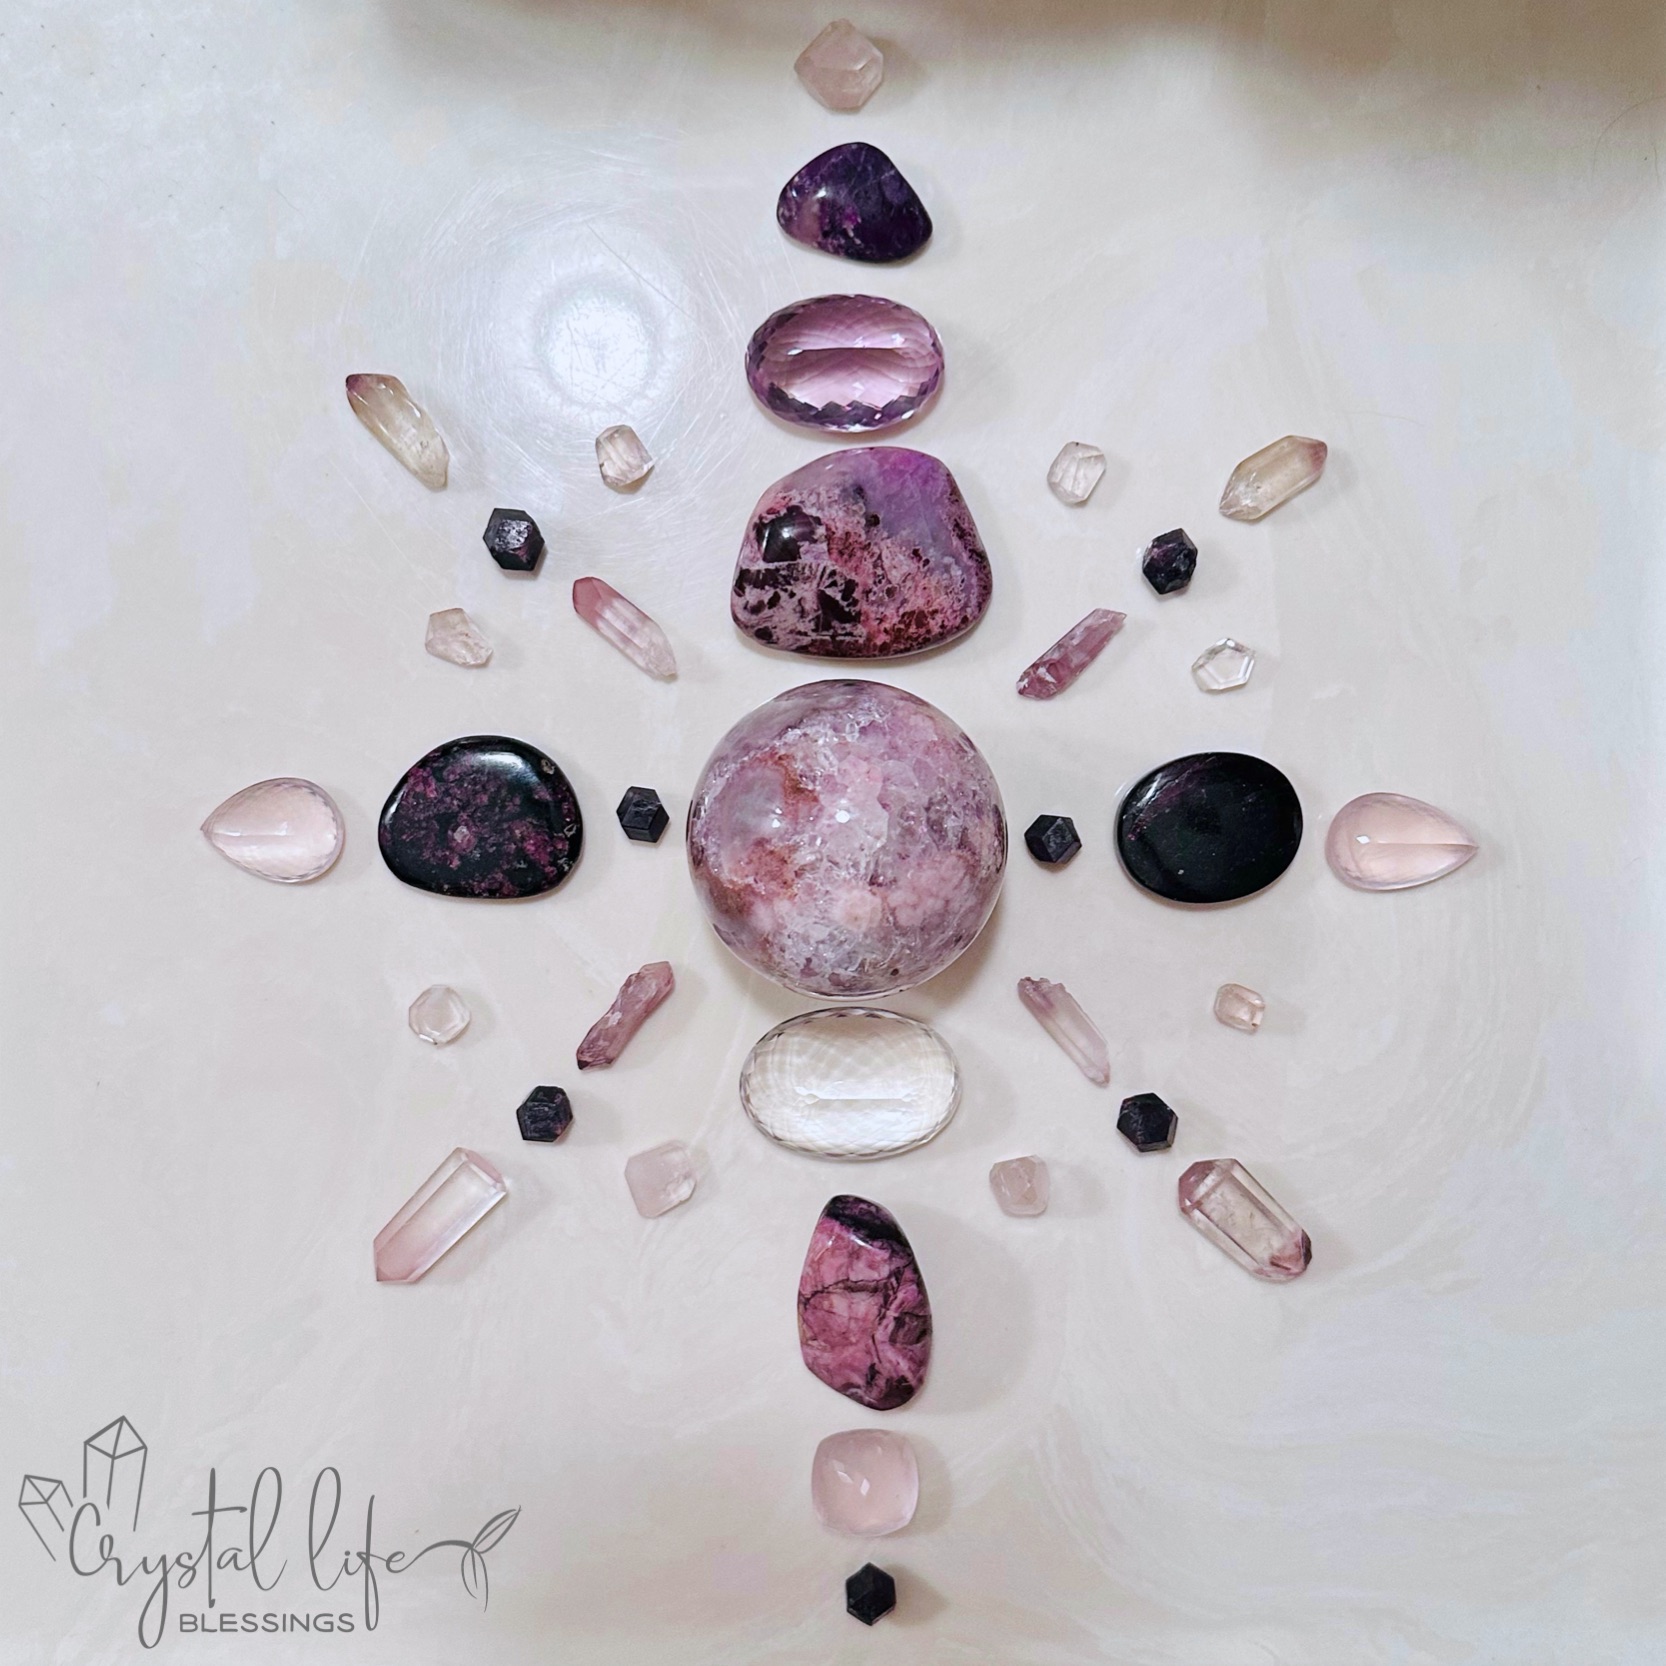
If you find gridding is something that speaks to you, over time you’ll prioritize acquiring the pieces that can really add the beautiful accents (says the woman who just got a set of 10 faceted Ethiopian Opals not for jewelry making, but to grid with LOL!). Happy gridding!
#RockingMyJourney